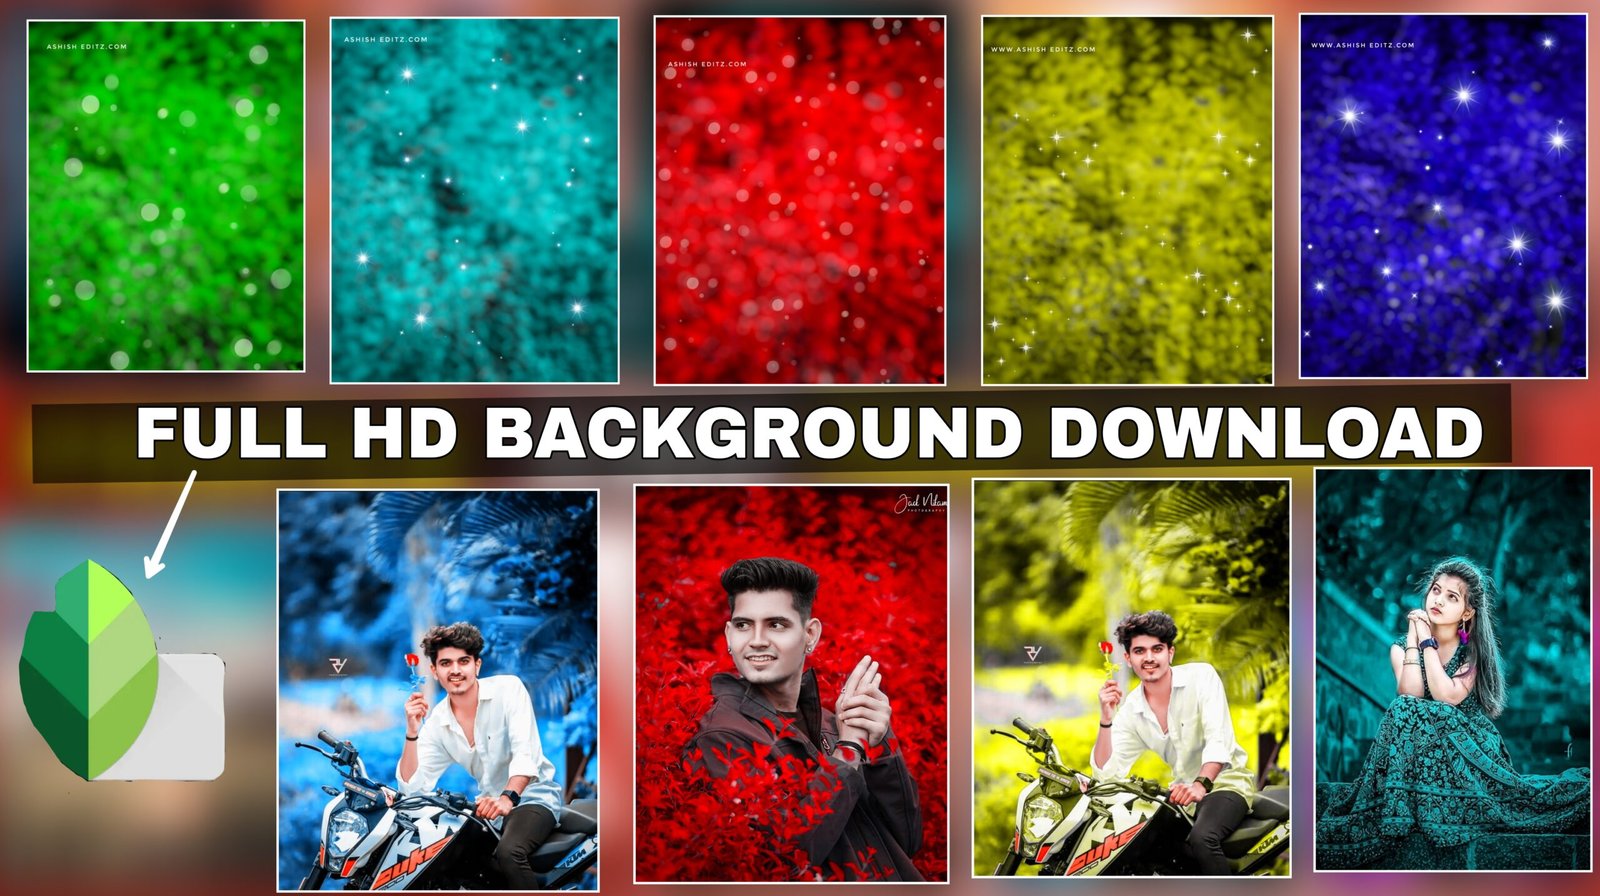
How to do Snapseed Creative Photo Editing
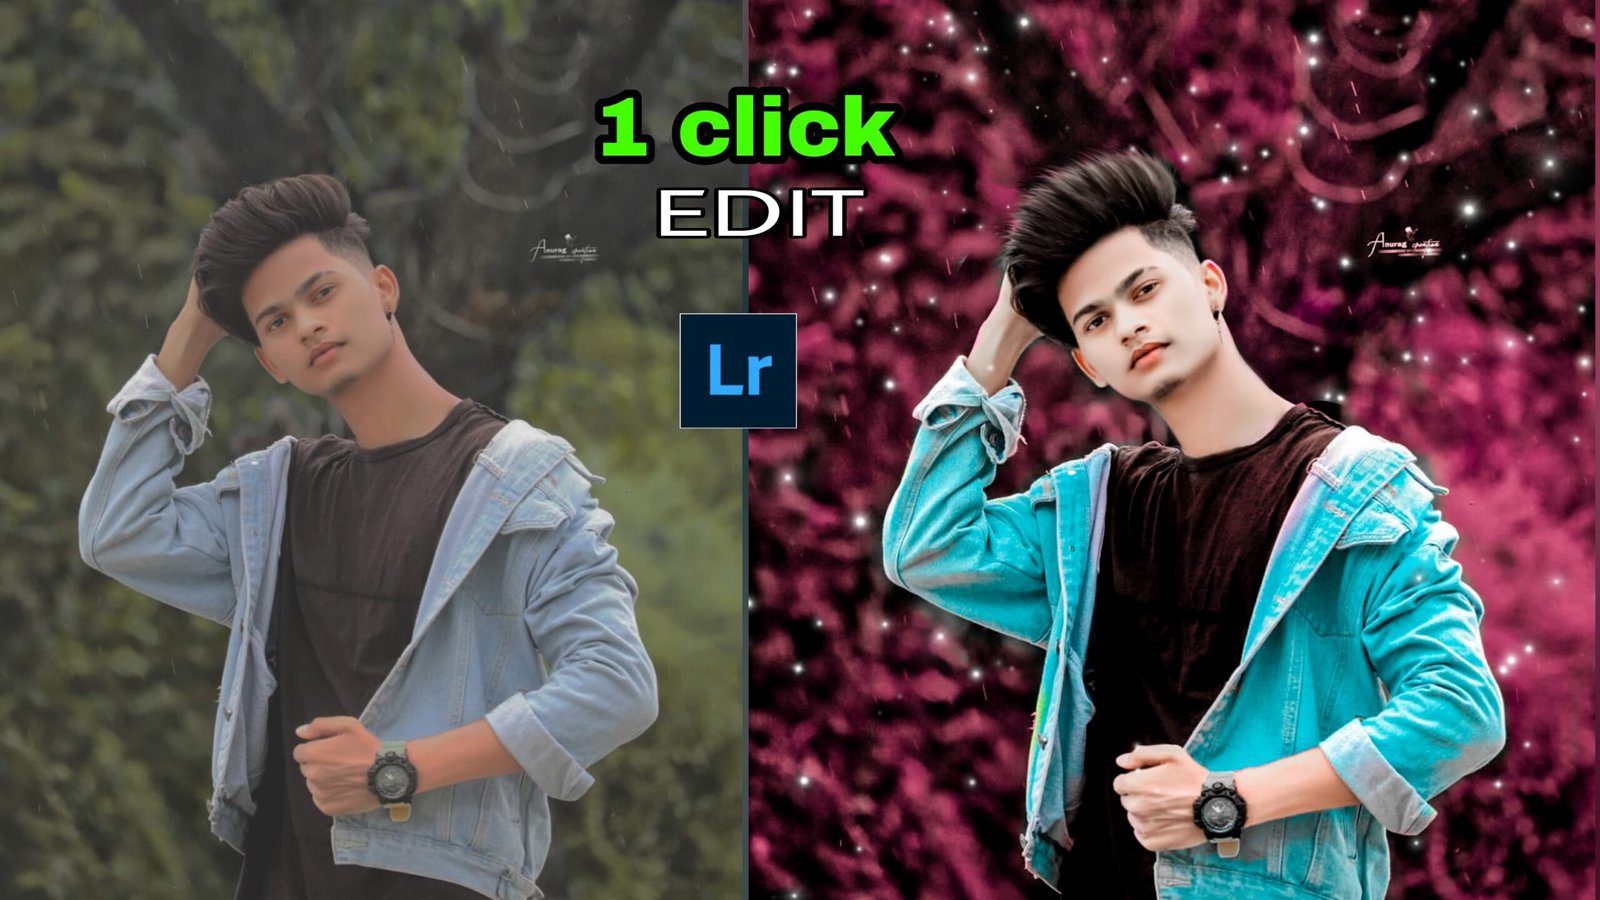
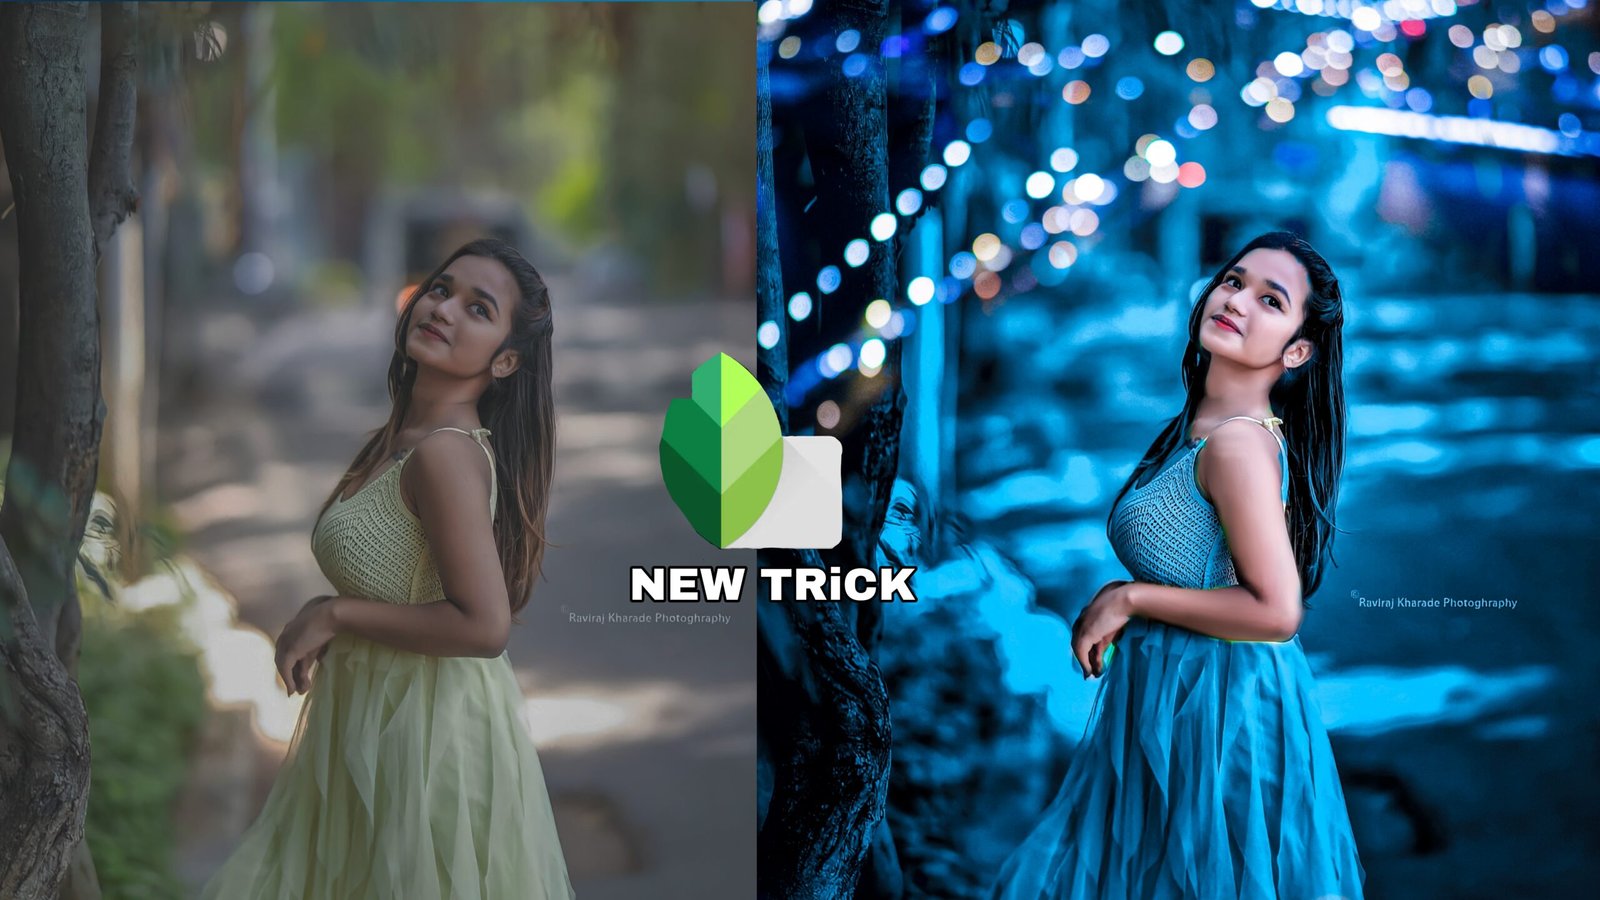
today’s post I am going to teach you something different like bouquet light photo editing and best thing together or I have taught you how to change blue tone background in photo editing if you want to learn then complete the posts So let’s get started
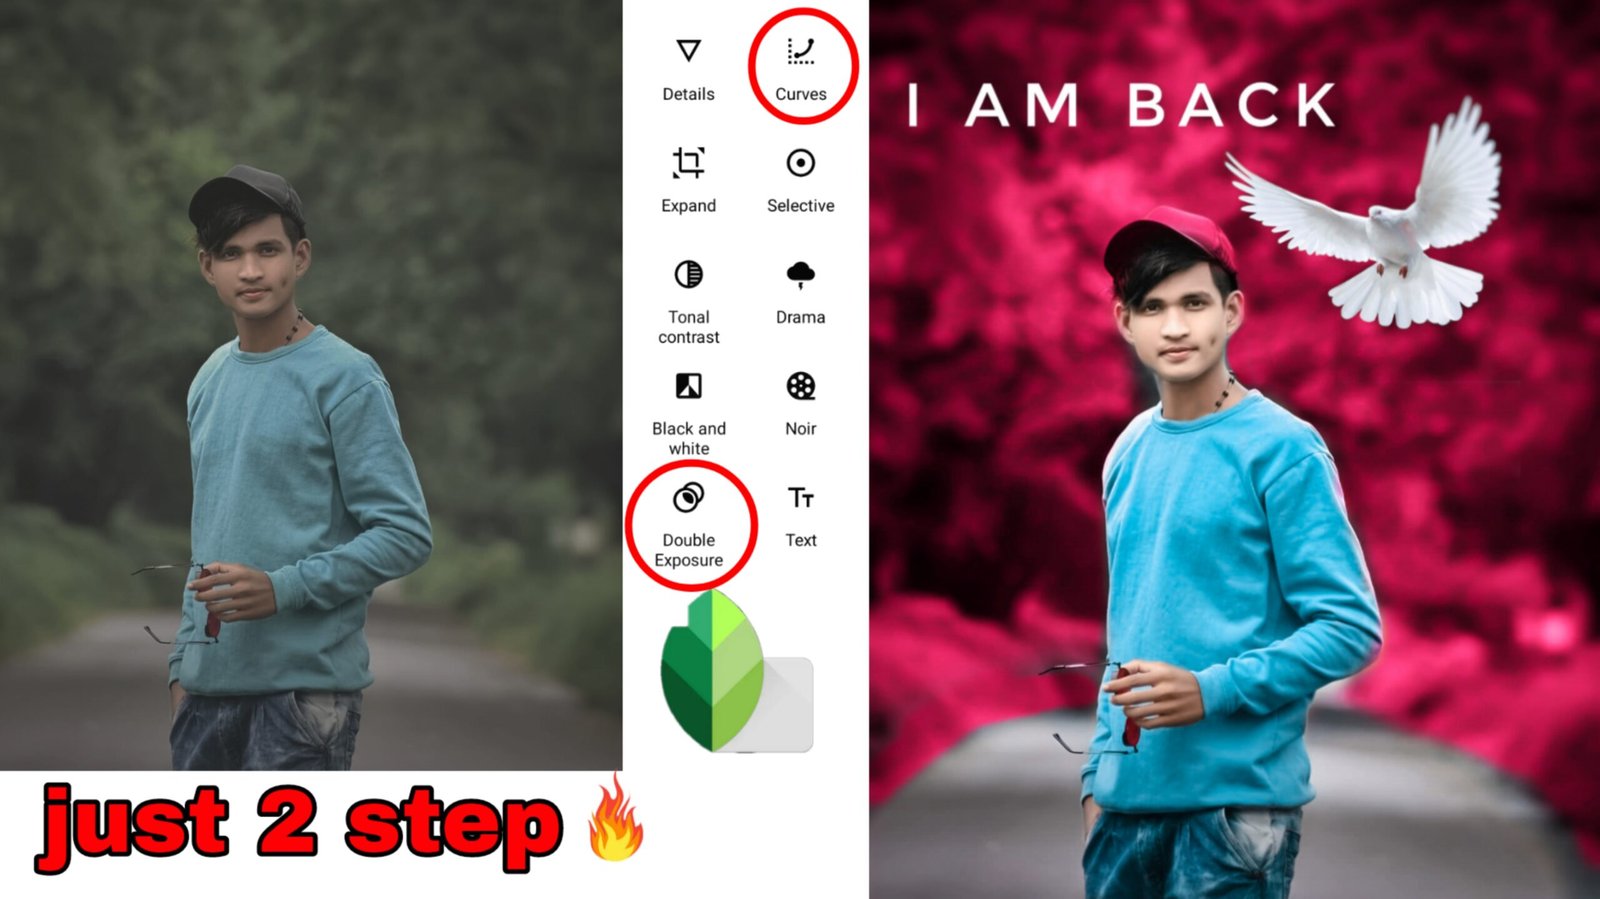
Download snapseed Friends, first of all you need snapseed to learn this photo editing, which you will find in snapseed play store, friends, you go and download it from there.
After this, friends, after opening snapseed, you have to click on the top any where icon, after clicking in it, you will open the gallery, after opening, whatever photo you want to edit, select that photo. After selecting friends, you have to click on the pencil icon, then you will open all the tools of snapseed, after that you have to give dark effect in the photo.
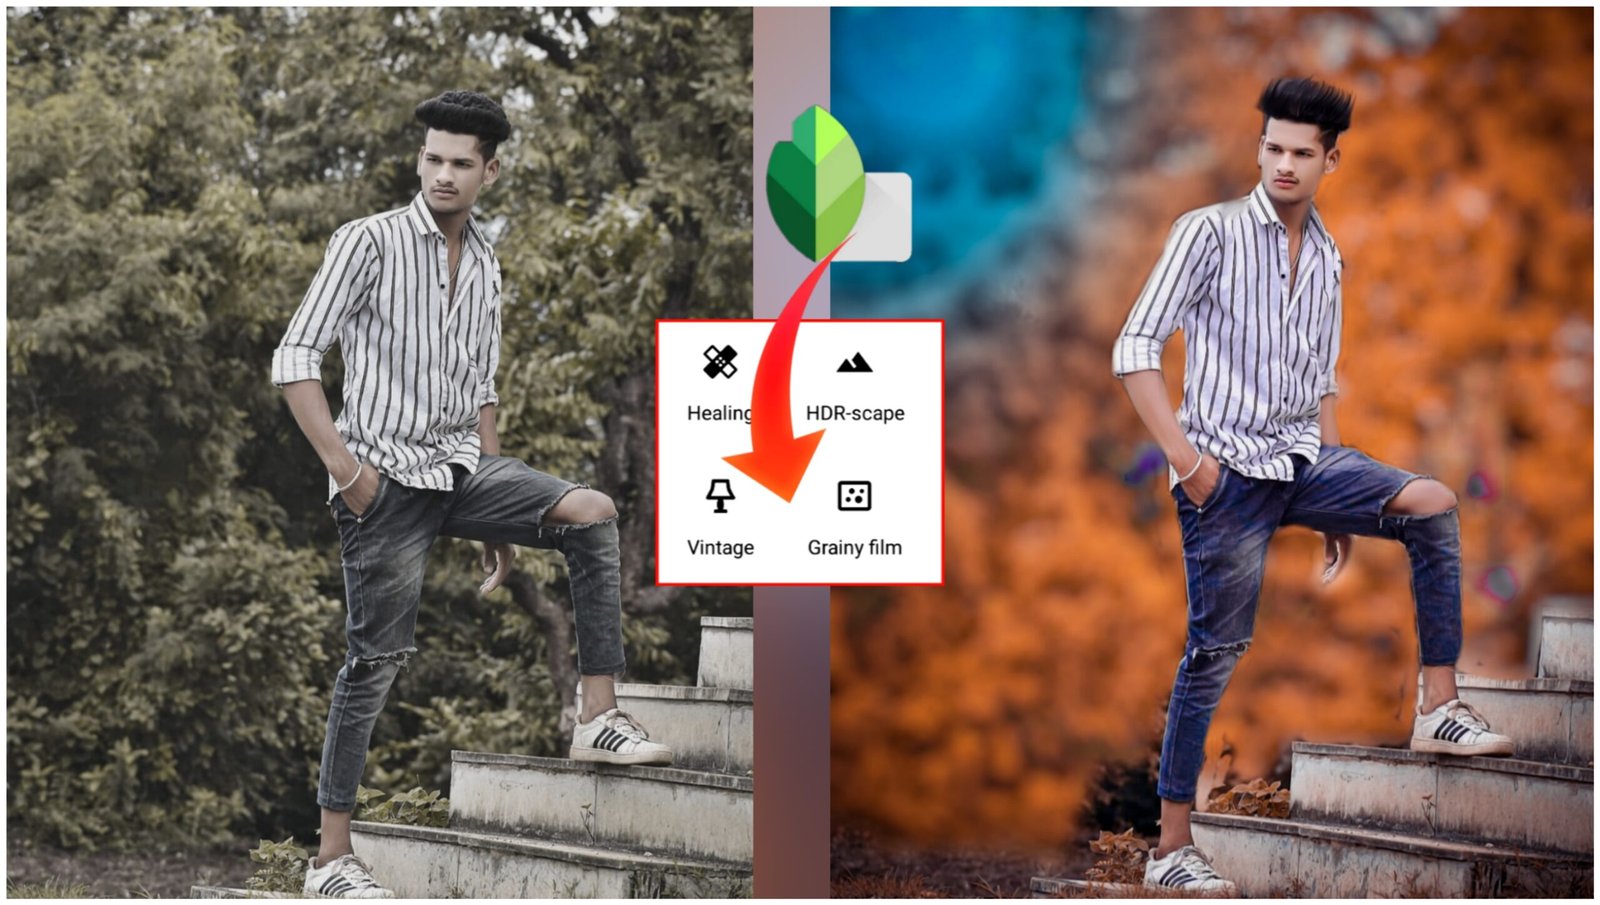
To give dark effect in the photo, you have to You have to click on the twin image tools, after clicking, you will see a lot of options, out of them saturation – 100 have to be taken tomorrow and the brightness option has to be reduced a bit, after that the dark effect will come in the photo. There will be an effect in the face, now to remove it, you have to click on edit and then click on the pencil icon, then whatever effect you have in sharp, you can remove the effect by doing minus twin image.
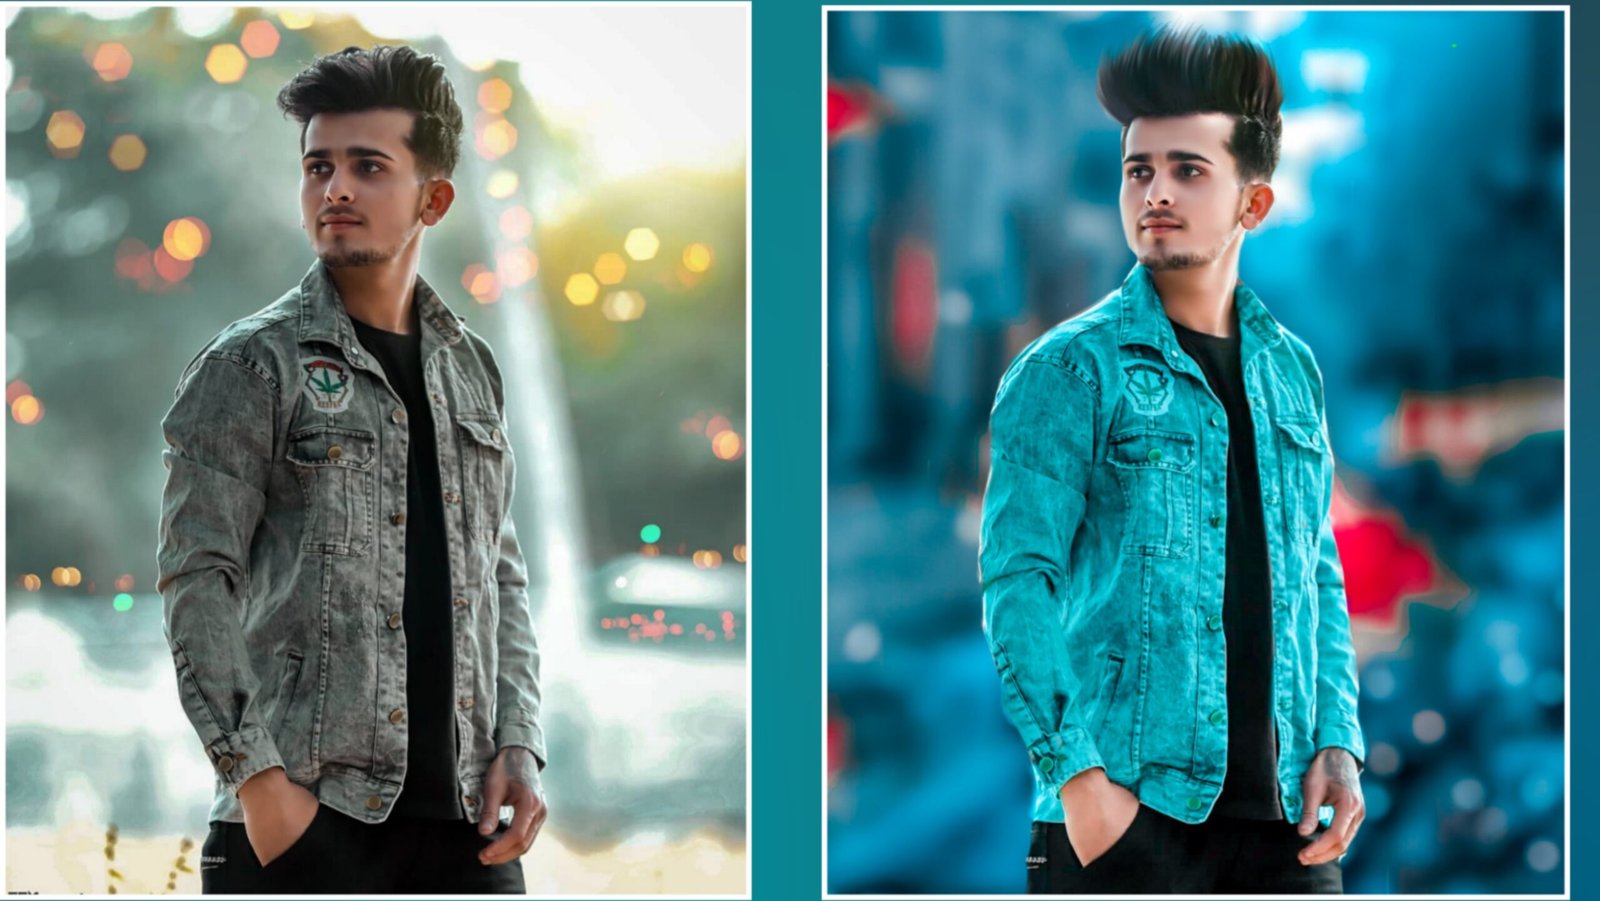
Now we will give blue effect in the photo To give you the blue sector, you have to click on the pencil icon and after that you have to click on the tools with white and balance, after clicking in the tool, you will see the option of temperature and tint, the first of which is Decrease the temperature and Decrease the tint, after that the blue effect will come in the photo, then you have to remove the blue effect in the face by going to the view edit option
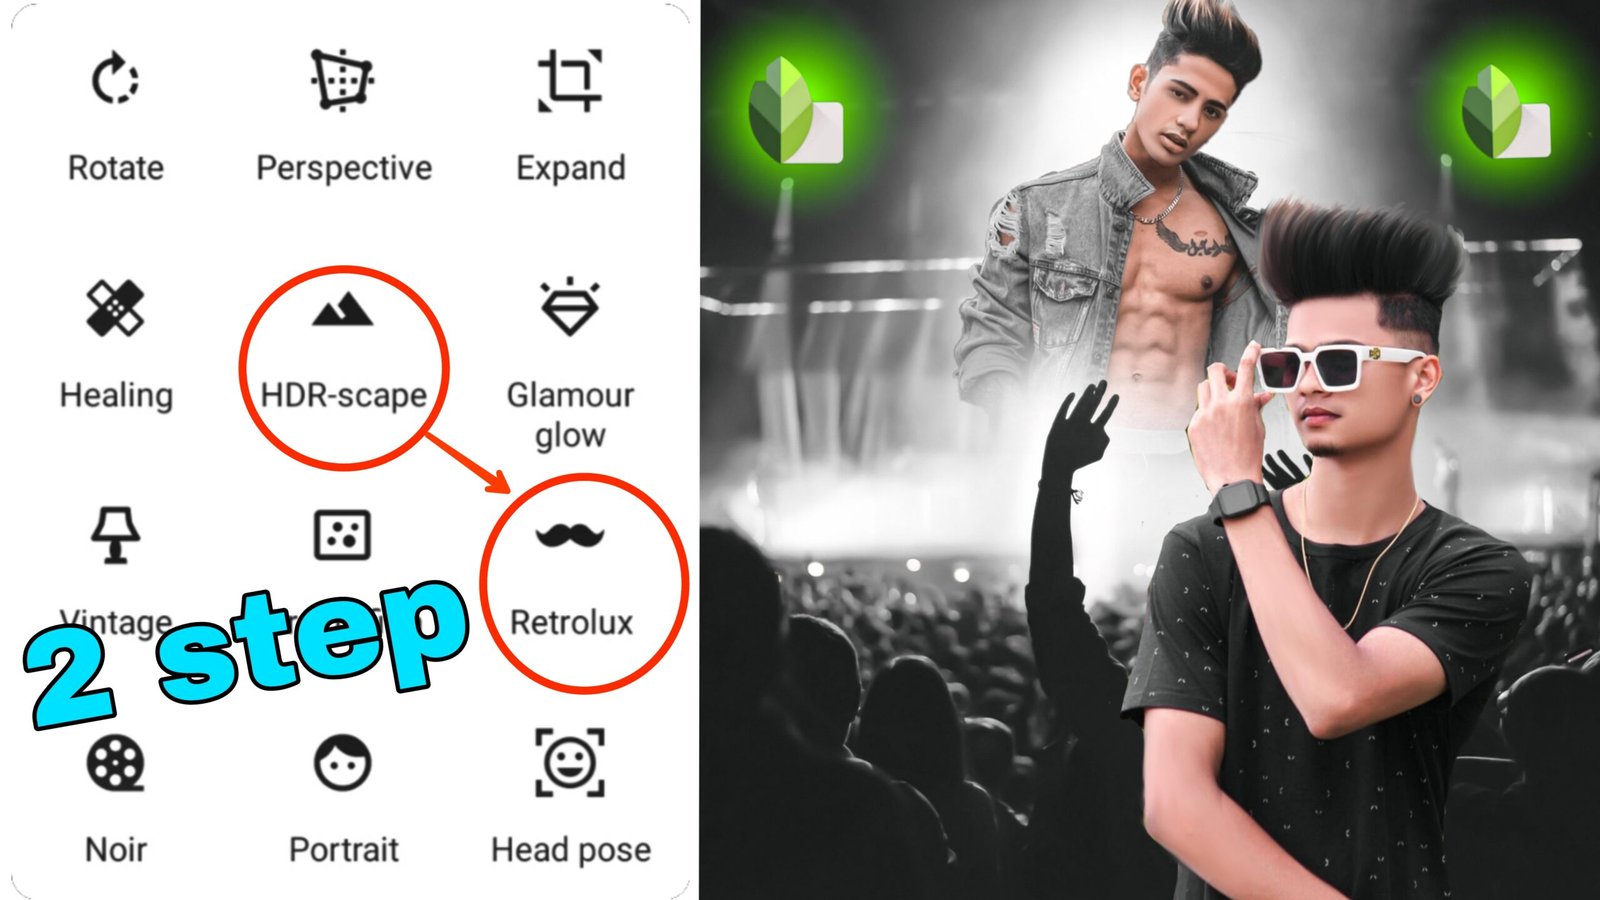
Now add Light PNG to the photo To add Light PNG, you have to come to the tools with double exposure and from here you have to click on this tool, after clicking, you have to click on the open image and from here I will give you an image of a light by downloading this photo. Take that which is the download button at the bottom and select this photo in that open image by going to the gallery, after selecting you have to click on the style, after clicking on the style,how you will see four options, in this option light options You have to select it, then from here you have to register according to yourself, after that you have to write

Now we will whiten the face of the photo To whiten the face, you have to click on the salective tool, after that you have to increase the brightness in the face by selecting it in the rate circle only face and reduce the saturation a bit, after reducing your face will become fair again to write after
Also
Now we will match the background of the photo with the light To match the photo with the light background, you have to click on the tools with white balance and after clicking in it, you will see the option of a temperature, you have to reduce the temperature a little, after reducing the background of the photo with light There will be a match which will look very good how and creative to see, after doing this your photo editing will be done, if you like this post, then definitely like comment and you want such a post, you must definitely comment me in insta or website, see you next Bye bye till then in the post