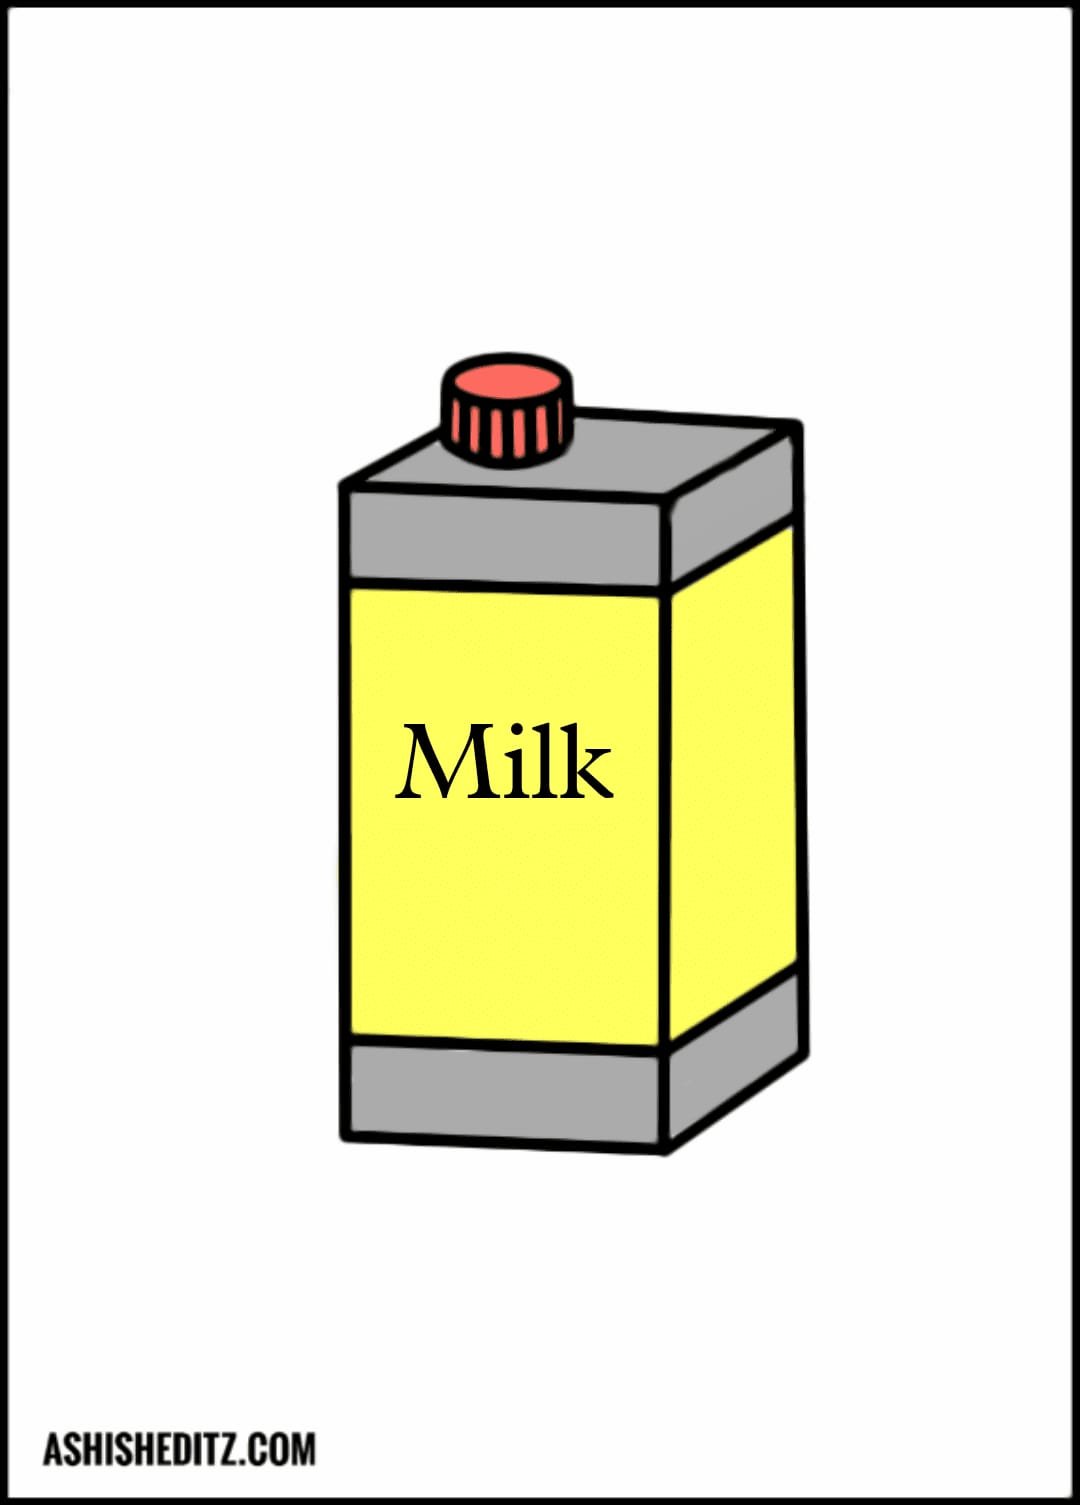
Milk Carton drawing This is a milk box milk is filled inside it, in a way, a packet of milk sold in the markets, which we call milk carton, but some children want to make a drawing of it, so we do this drawing inside the post, step by step. are going to learn
how to draw Milk Carton
Keep in mind that you will need some material for drawing like
- pencil
- rubber & cutter
- color box
- drawing copy
step 1 Draw A – Milk Carton Let’s get Started
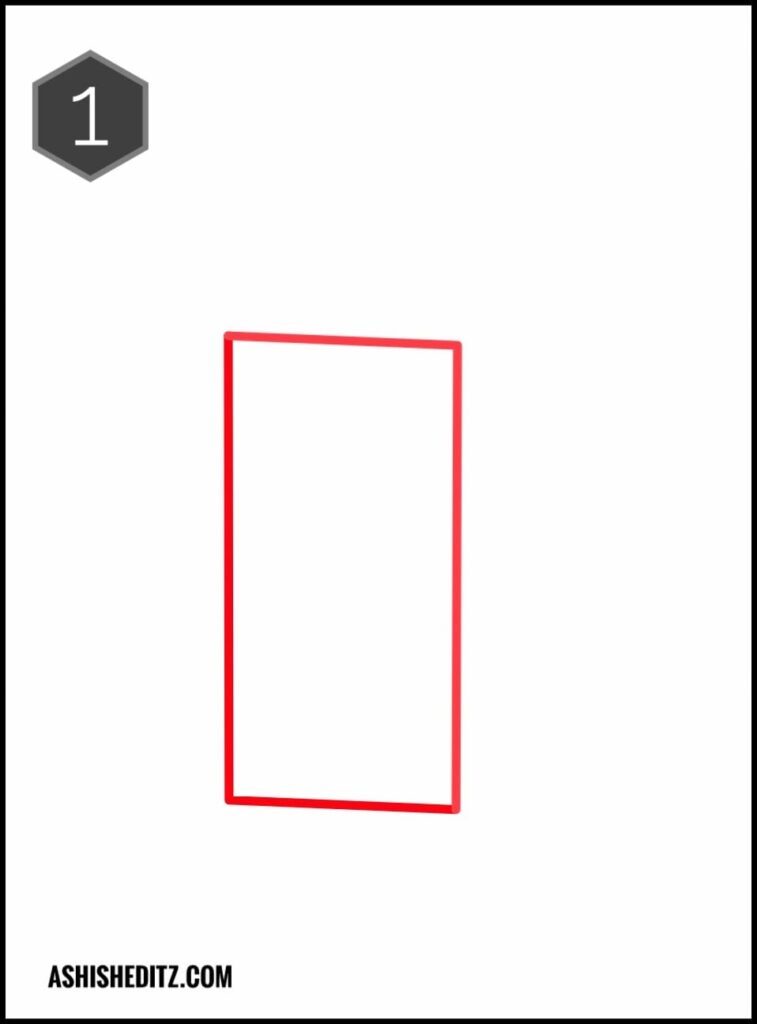
With the help of pencil make an outline like a rectangle
step 2 Draw the outline of a quadrilateral
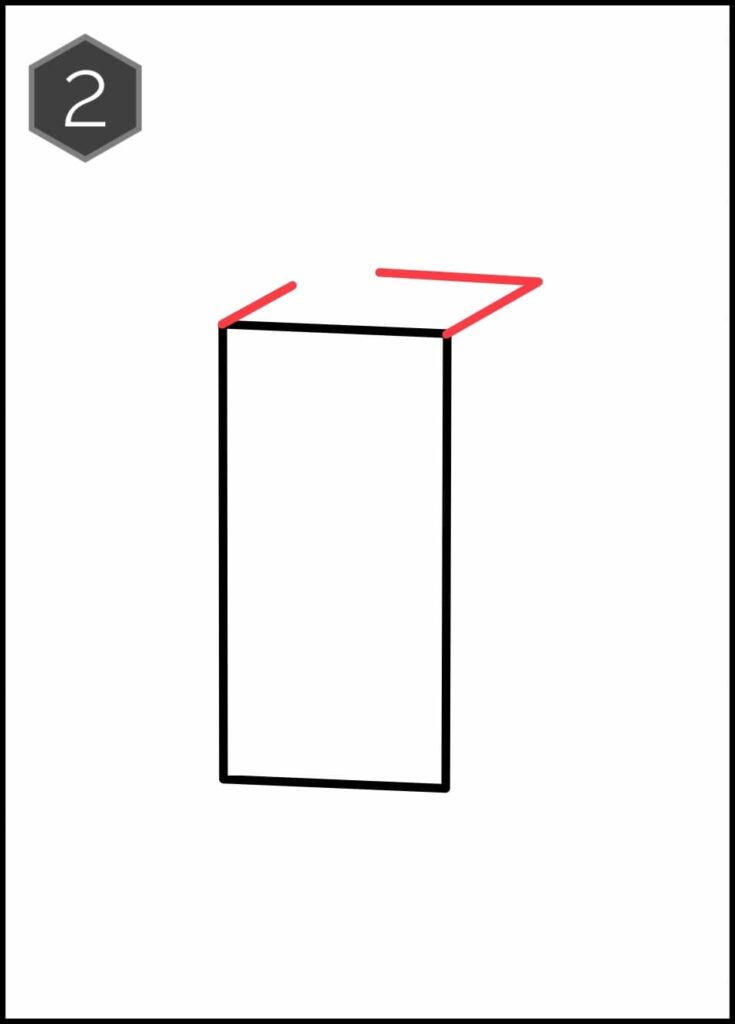
After this draw a quadrilateral outline by adding it to the outline above and leave a small gap in the corner of the right.
step 3 draw simple outline
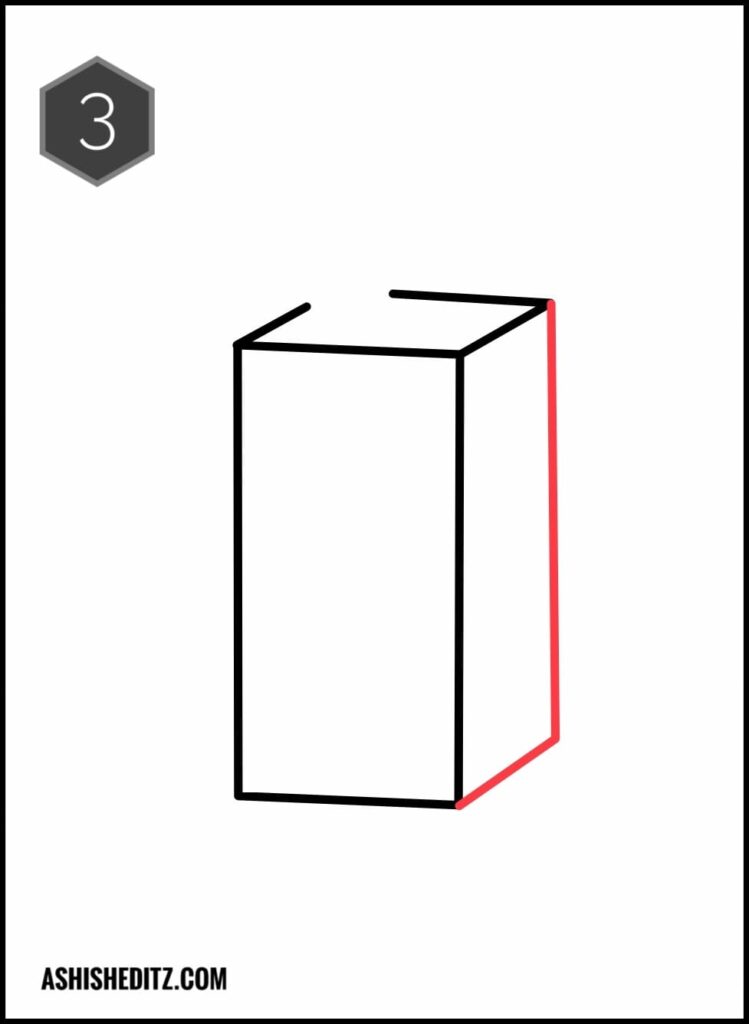
After this, a simple outline has to be drawn downwards through the corner of the left side, with the help of a scale, you have to match it with the middle outline.
step 4 Milk Carton make cover

To make the lid of the milk carton, we have to add this lid to the left corner of the right side.
step 5 add horizontal line
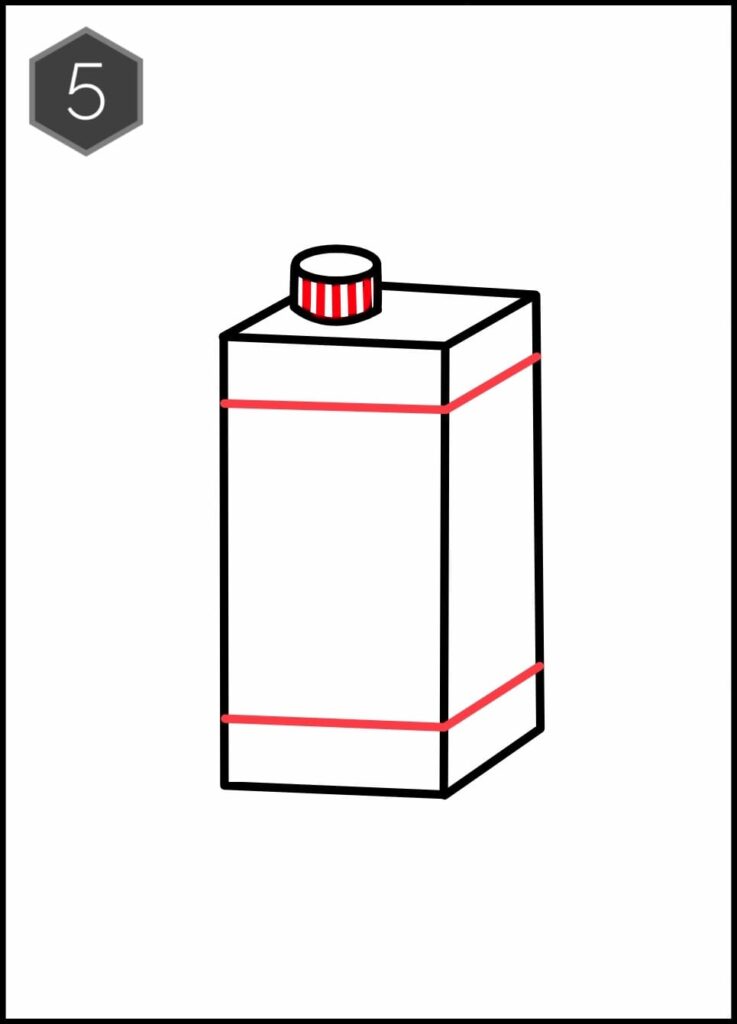
Now you have to draw the seven eight line outline inside the lid, after that you make two more outlines with the help of the image and to give it a more well designed design, you have to add milk text to it.
Milk Carton drawing with colour
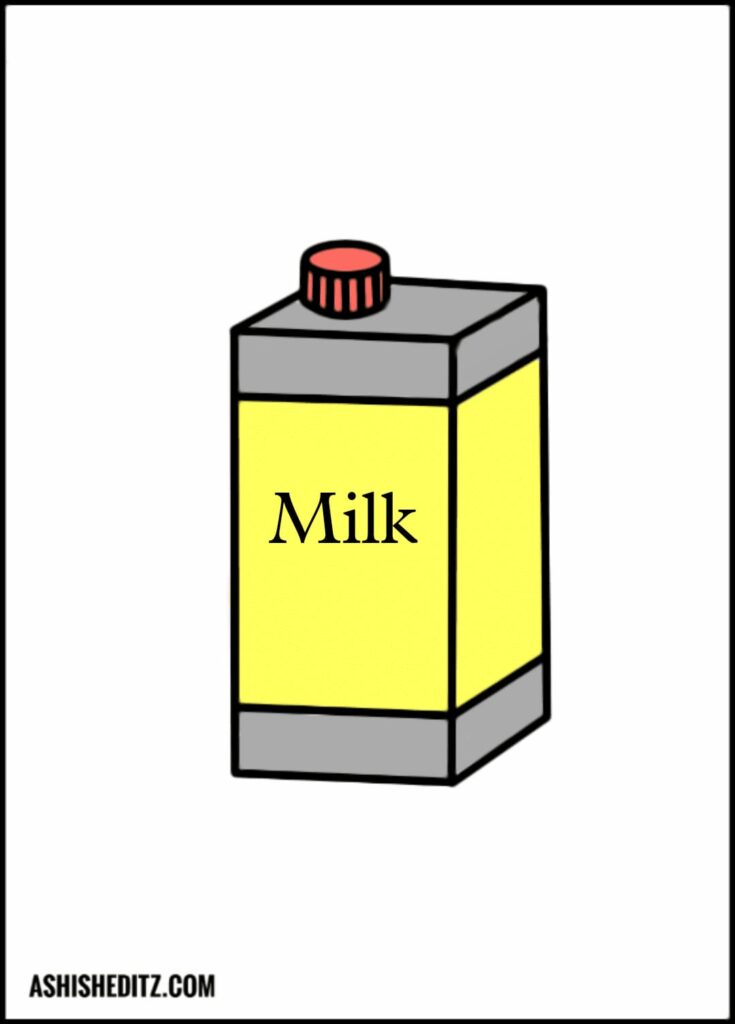
We have used yellow gray and red color to color the milk carton drawing, but after drawing it well, you can fill it according to your own color.
How to improve Milk Carton drawing
- a good place to sit while drawing
- Keep material like penler hazardous paint with you
- When drawing, the tip of the pencil should be sharp.
- After this you can start doing your drawing
- Follow the steps given in the post
- After the drawing is complete, use the marker on it
- you should always draw with a pencil first
- Do not use any sketch color and water color in the drawing
- For this you can color the drawing with the help of pencil color
Conclusion
For any problem, you can comment me and if you like this post, do comment, see you in the next post.
