Button drawing friends, this is going to learn the drawing of button to be applied in clothes, for some children, this drawing is difficult, but I am going to clear it for you in a few minutes, how you can do button drawing.

how to draw Button
Keep in mind that you will need some material for drawing like
- pencil
- rubber & cutter
- color box
- drawing copy
step 1 Draw A button– Let’s get Started

First of all you have to make a big circle
step 2 Add the inside of the button

After that draw another circle in the inner part of that circle as shown in the image.
step 3 Depict the four holes inside the button.
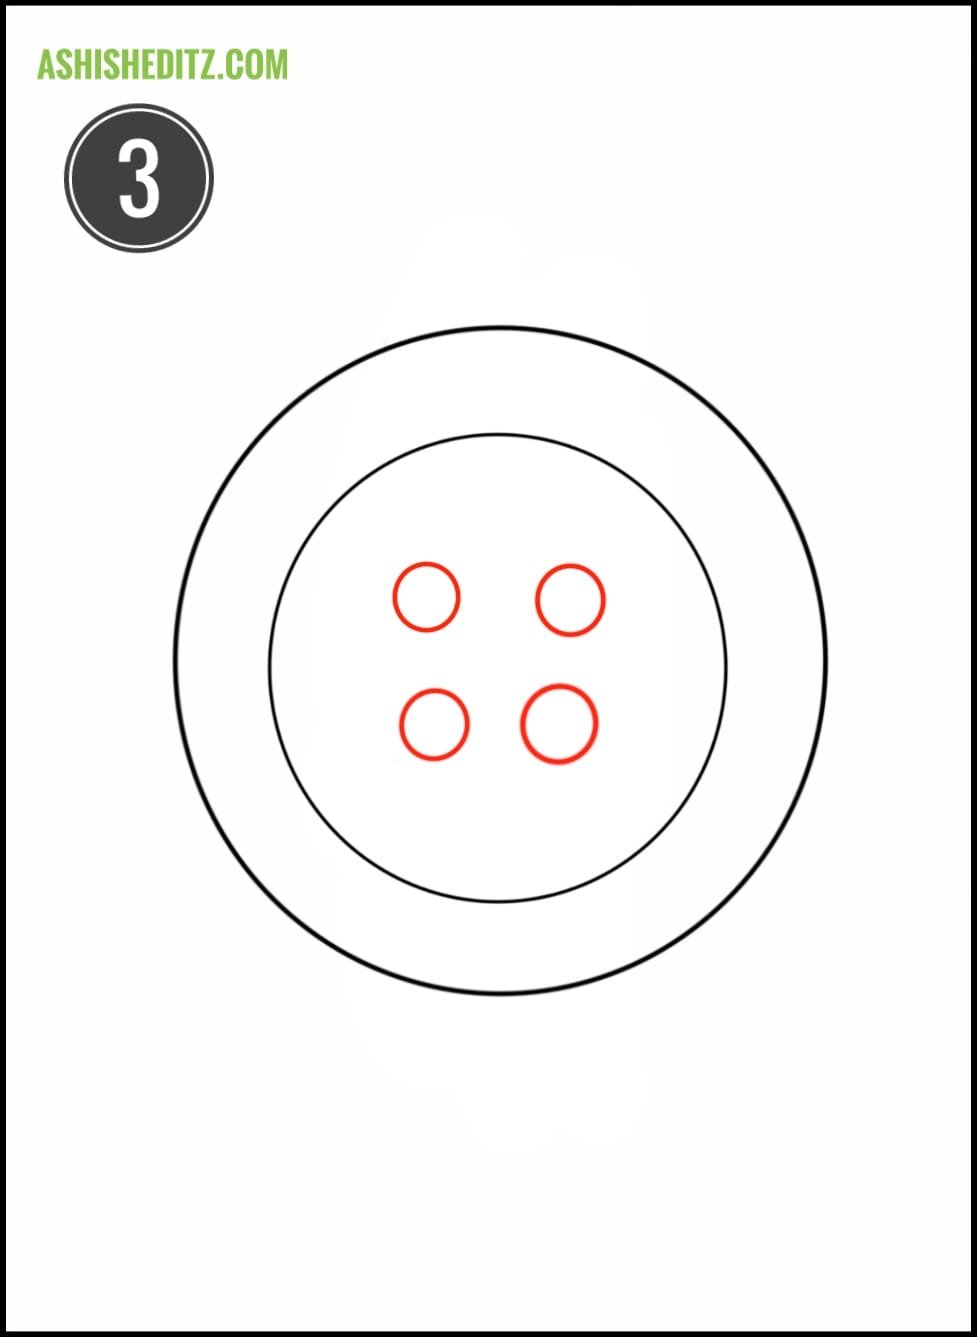
Now friends, this is our last step, we have to draw four holes in both the outline and inside, you can use divider and pencil to draw it.
step 4 button drawing with colour
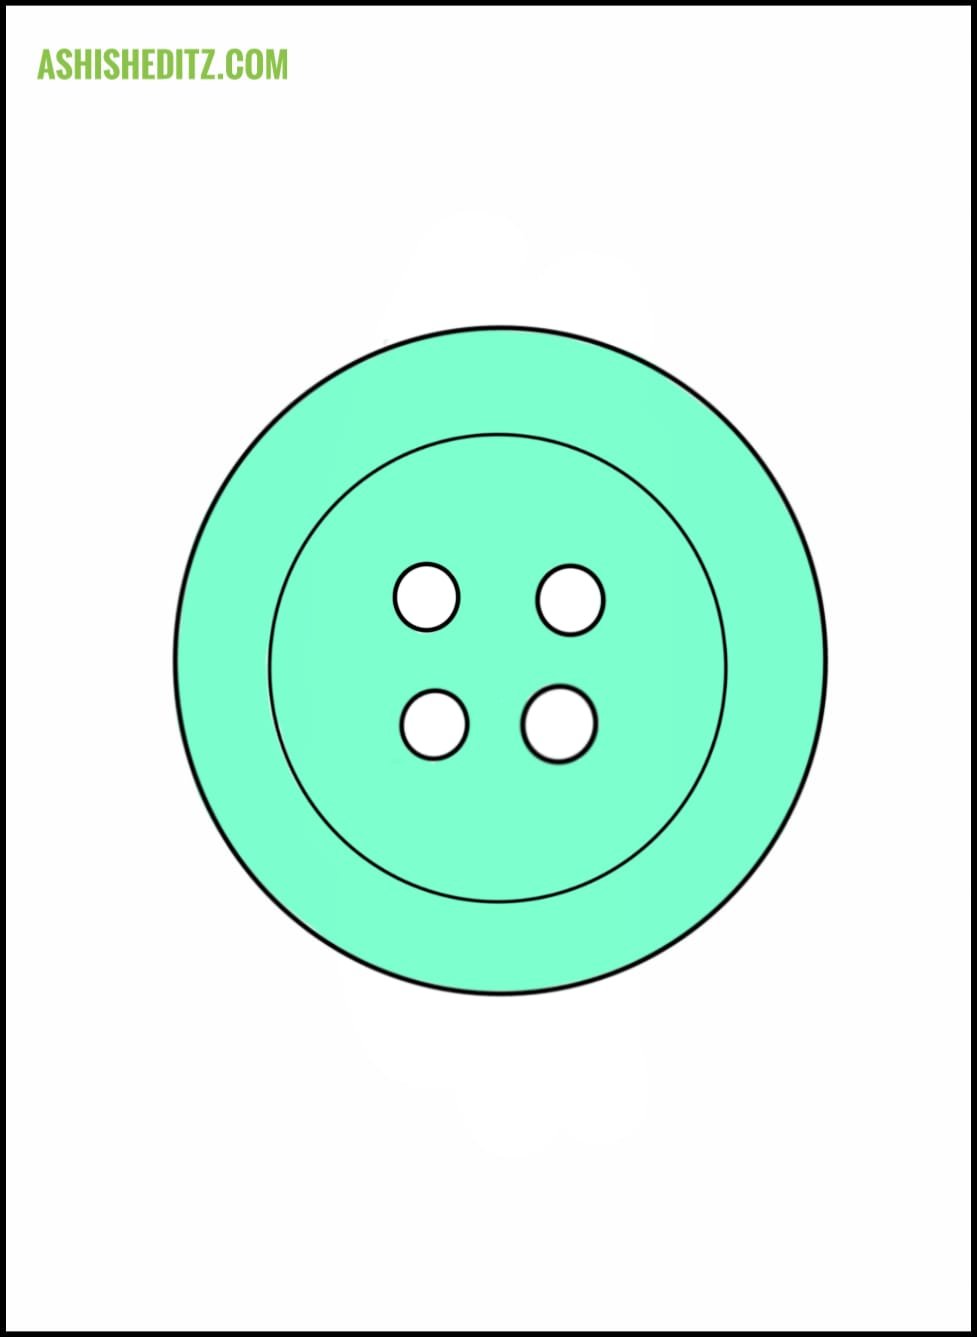
Friends, in this way our drawing is complete, but to fill color in it, you can use colors like blue, yellow, red, green, etc., keep in mind that the color should remain pencil colors
How to improve Button Drawing
- a good place to sit while drawing
- Keep material like penler hazardous paint with you
- When drawing, the tip of the pencil should be sharp.
- After this you can start doing your drawing
- Follow the steps given in the post
- After the drawing is complete, use the marker on it
- you should always draw with a pencil first
- Do not use any sketch color and water color in the drawing
- For this you can color the drawing with the help of pencil color
Conclusion
If you get to learn something by watching this post, as well as you can comment me for any problem and if you want such a new post