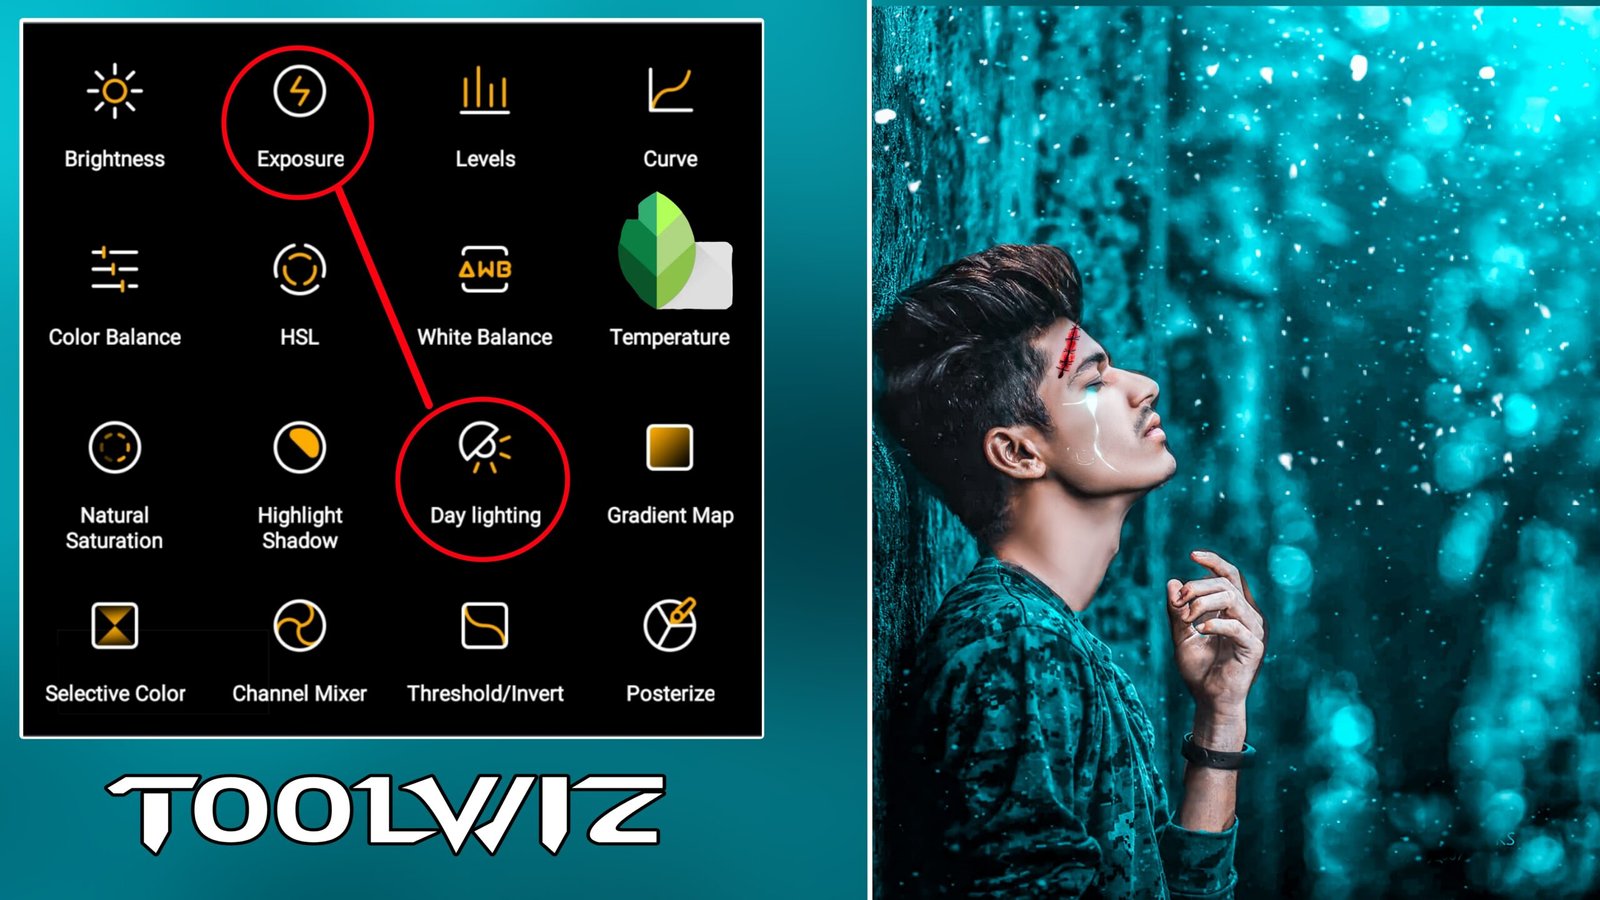
Dark photo editing :- Hello welcome again on your website Ashish edit then in good post we will learn lightroom dark black photo editing, to learn editing, you have to read the entire post, friends, you have to open lightroom first to do this editing lightroom After opening, you will see a lot of interfaces, from which you have to click on the tools with the first tools light, after clicking in that tool, you will see 6 to 8 options, in which you have to give this project a bit bigger so that your image The brightness will increase after that the contrast will be in the bottom of this project. Contrast has to be given a bit bigger.
Best Dark Photo Editing tutorial
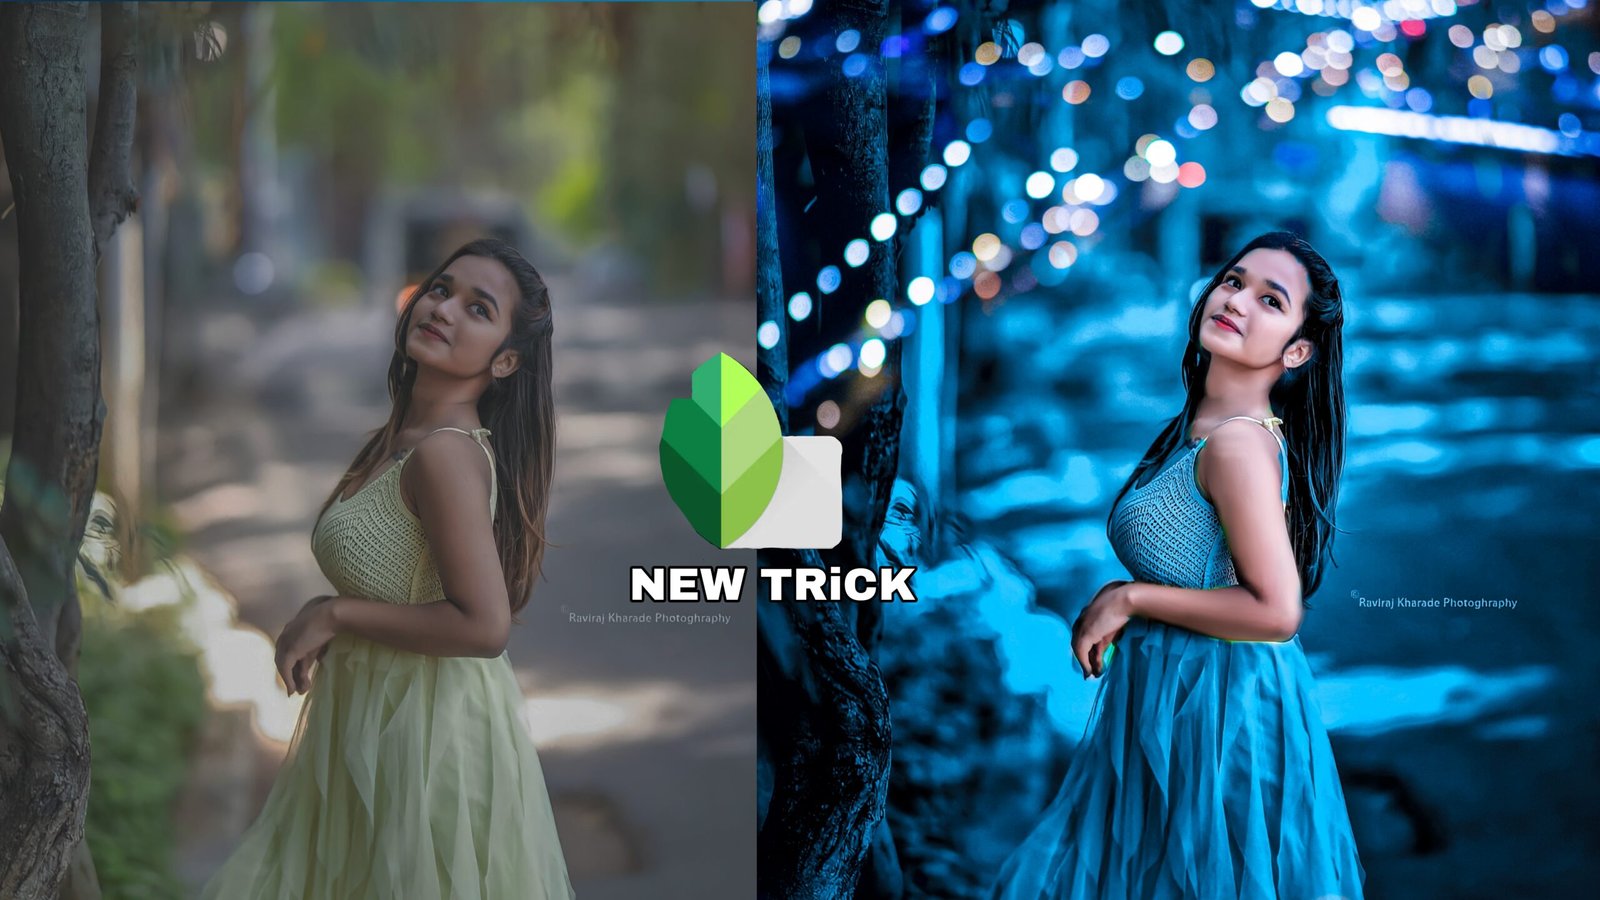
When is the reason to increase the contrast that the brightness of the photo increases, after that Shahdol Suicide has to give us a little bit bigger that the shadow in our photo After that it will increase, the words have to be reduced a bit, which was affecting our face, it will happen that it will be removed in our country, after that, friends, you have to come on the color mixer tour. Clicking on this post After that you will see all four options Temperature Vibrant Saturation, of which the temperature has to be reduced slightly, which will bring the light effect.
After that in the photo, the Vibrant has to be increased so that the photo also increases the color, after that the friend has to reduce the true ration slightly, then you have the Mix tool. Click on what is called Lightroom’s very good tool, from here you can change your big round to color change and face to white and black, so as we have to change face and background color,
first of all we click on Alo color Will make the true irration of Aloe color towards complete ink, will beat all the luminance, which will make the big round light black, after that click on the green color, the green color has to be reduced in the same way as the secretary ration and the luminance together
You also have to reduce it, after that, friends have to click on the blue color, after clicking in the blue color, you have to reduce its hue and keep it at around 72, so that the bouquet background will show the photo, after that the friends rate you and orange This makes the face white and black, if white increases its luminance, it will glow and If you work, black will do it, then friends, we have to do dark photo editing, then we will increase the luminance after that,
friends, you have to talk once, after talking, you have to click on the option containing the effect, after clicking on the effect, you have many All the options will be seen again, out of which we will make some effects, decrypt the first vintage of the option, which will add a black glow in the photo. Friends, you have to click on the icon with pencil and draw in the place where the effect is, after that you have to reduce the situation.
After reducing the Sachin silk, your background will be black in the east. Do not do it because it will make a gift in the face, then the photo will start to look very dirty, after that, friends have to increase its brightness and reduce the highlight. After reducing the highlight, you have to increase the gallery option after that.
Once you have written you like it, friends So once again you have to come on the mixer tour, after coming in the mixer tool, now you have to block a little Facebook here, then again we will click for orange color and we will blond the face, after that friends have got the effect in the article lips. You can remove the effect by increasing the luminance and reduce the Hui so that our lips are good with the photo. Now here friends, the last left masking tool’s Mansingh tune is such that your friends who are ripping your photo do not let them read the photo. If your photo is of low quality, then definitely use this tour like I am doing on my photo.
Also Read :- Snapseed Pink Tone Photo editing Tutorial