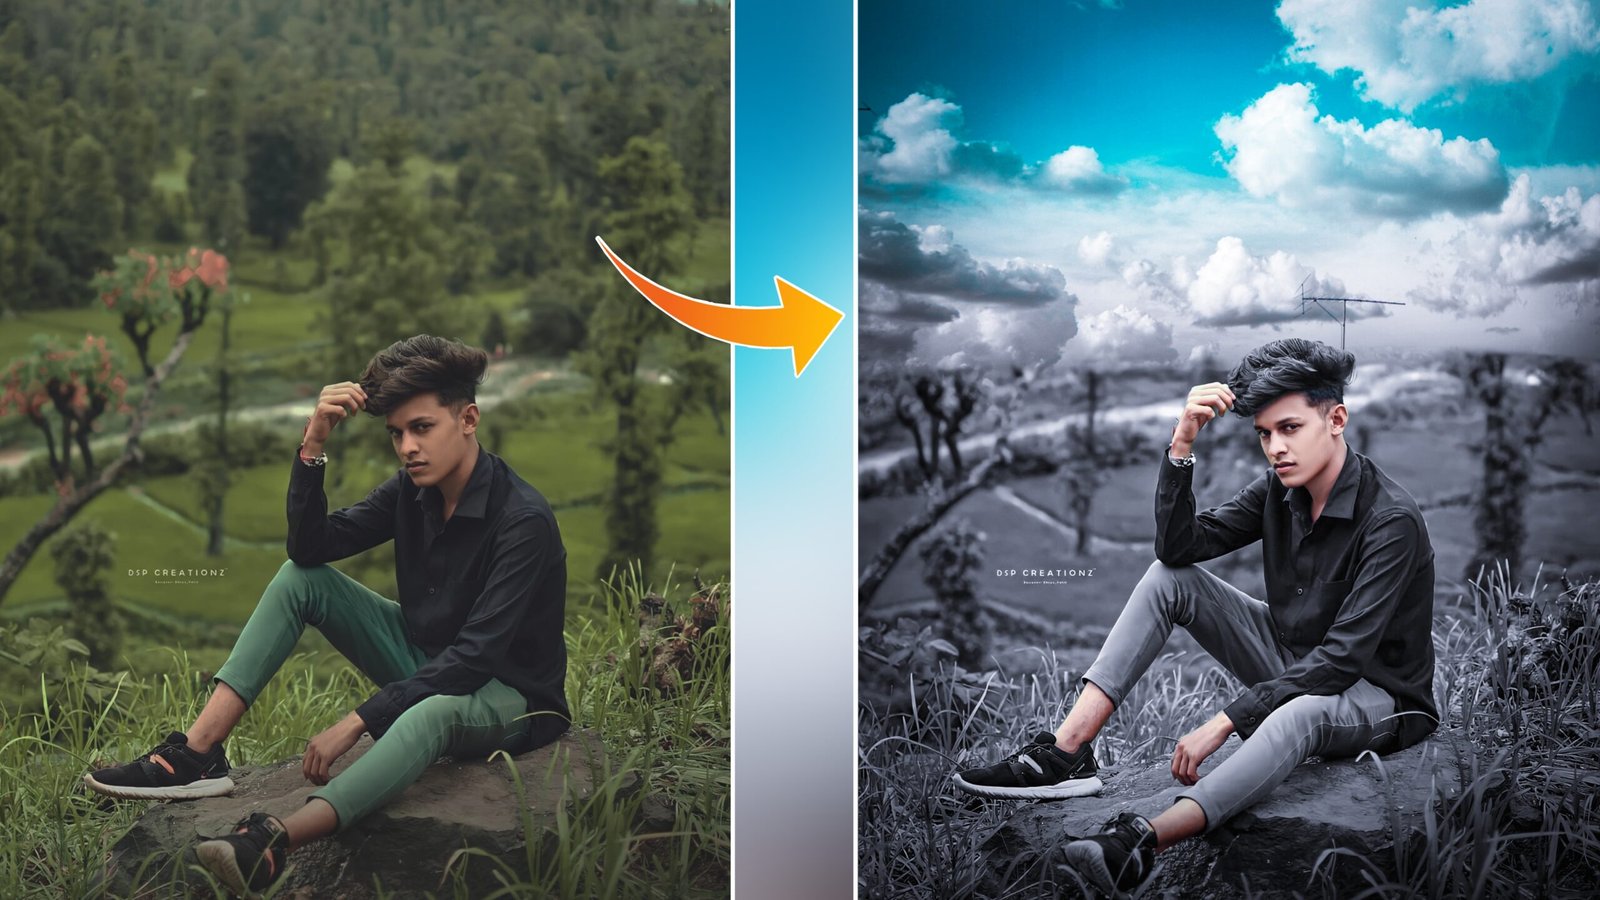
Hi brother, how are you all, hope you are all good, then brothers, I have again brought a new dark effect photo editing and sky background for you guys, which along with editing in this post, you will also get background download for free.
How to do dark effect and sky background photo editing
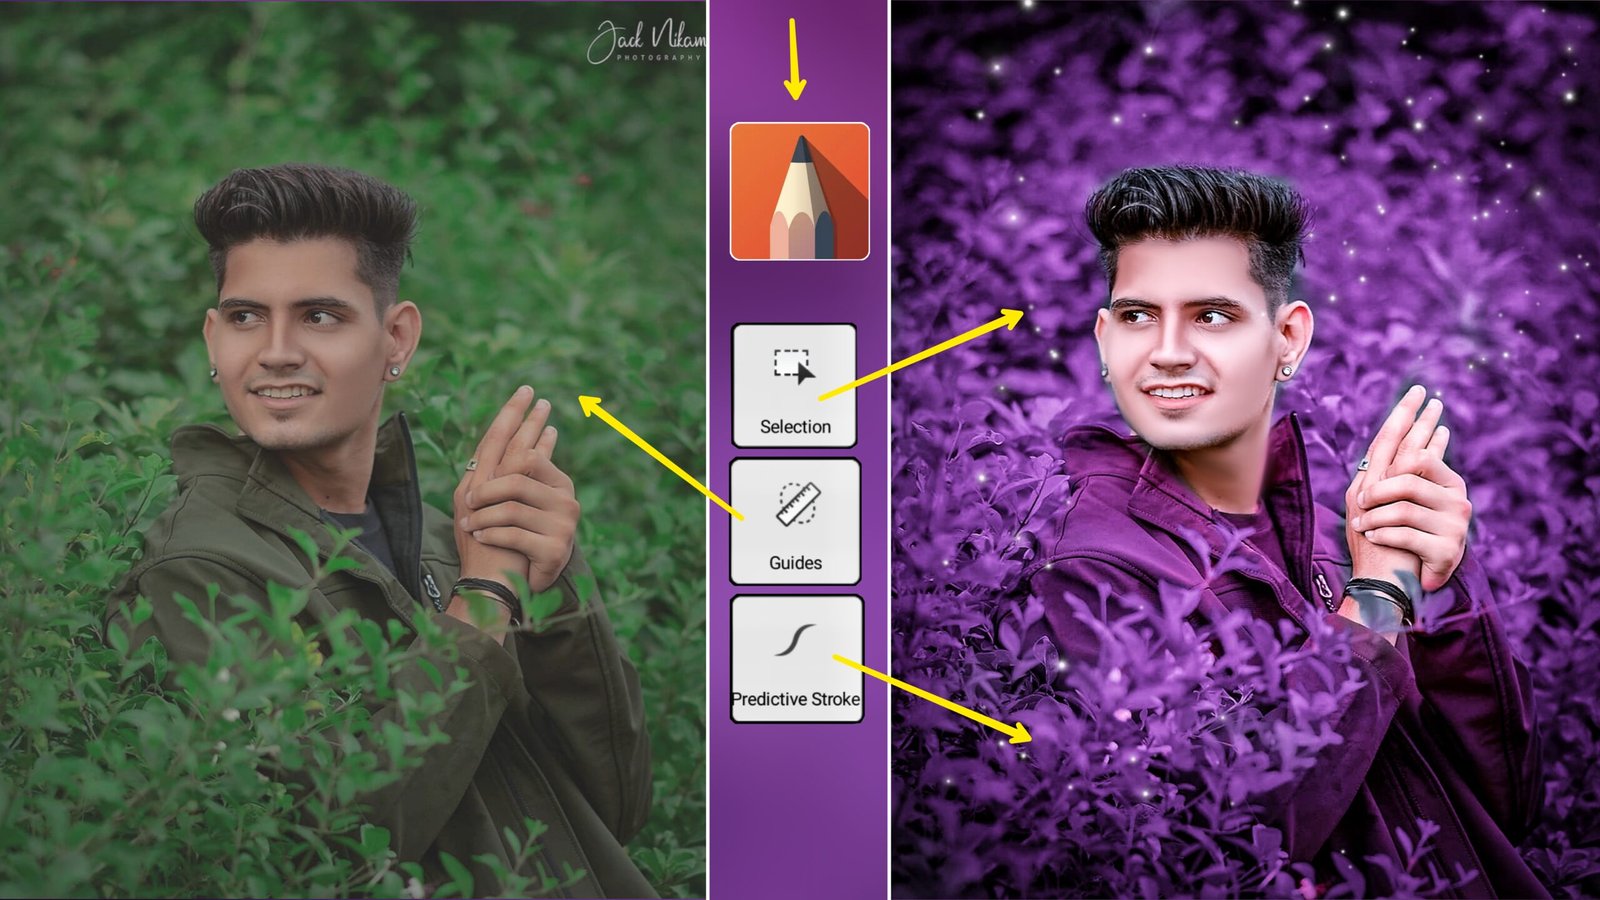
• Friends, for this you have to open the Toolwiz application, which will be available in the Toolwiz Play Store, you can go and download it from there, if you want, I write it down below, download whatever you like, friends, then after downloading Toolwiz, Pro Editing Then you have to select whatever photo you want to edit, after selecting the tools of your toolwiz will appear, then friends, I am going to show you editing with only four tool help, let me show you that four name the tool
| 1 Black and white
3 blending mixture |
2 HSL
4 curve |
1 how to add dark effect in photo
• Friends, to add dark effect to the photo, you have to scroll the tools of toolwiz, then click on the option of photography, after that you will see the tool of black and white, click on that tool, then friends you will get a classic effect on the same. You have to click, this dark effect color the background of the photo, then friends will have a black effect in the face, you have to select the eraser by clicking on the marks, remove it wherever there is an effect and then right it.
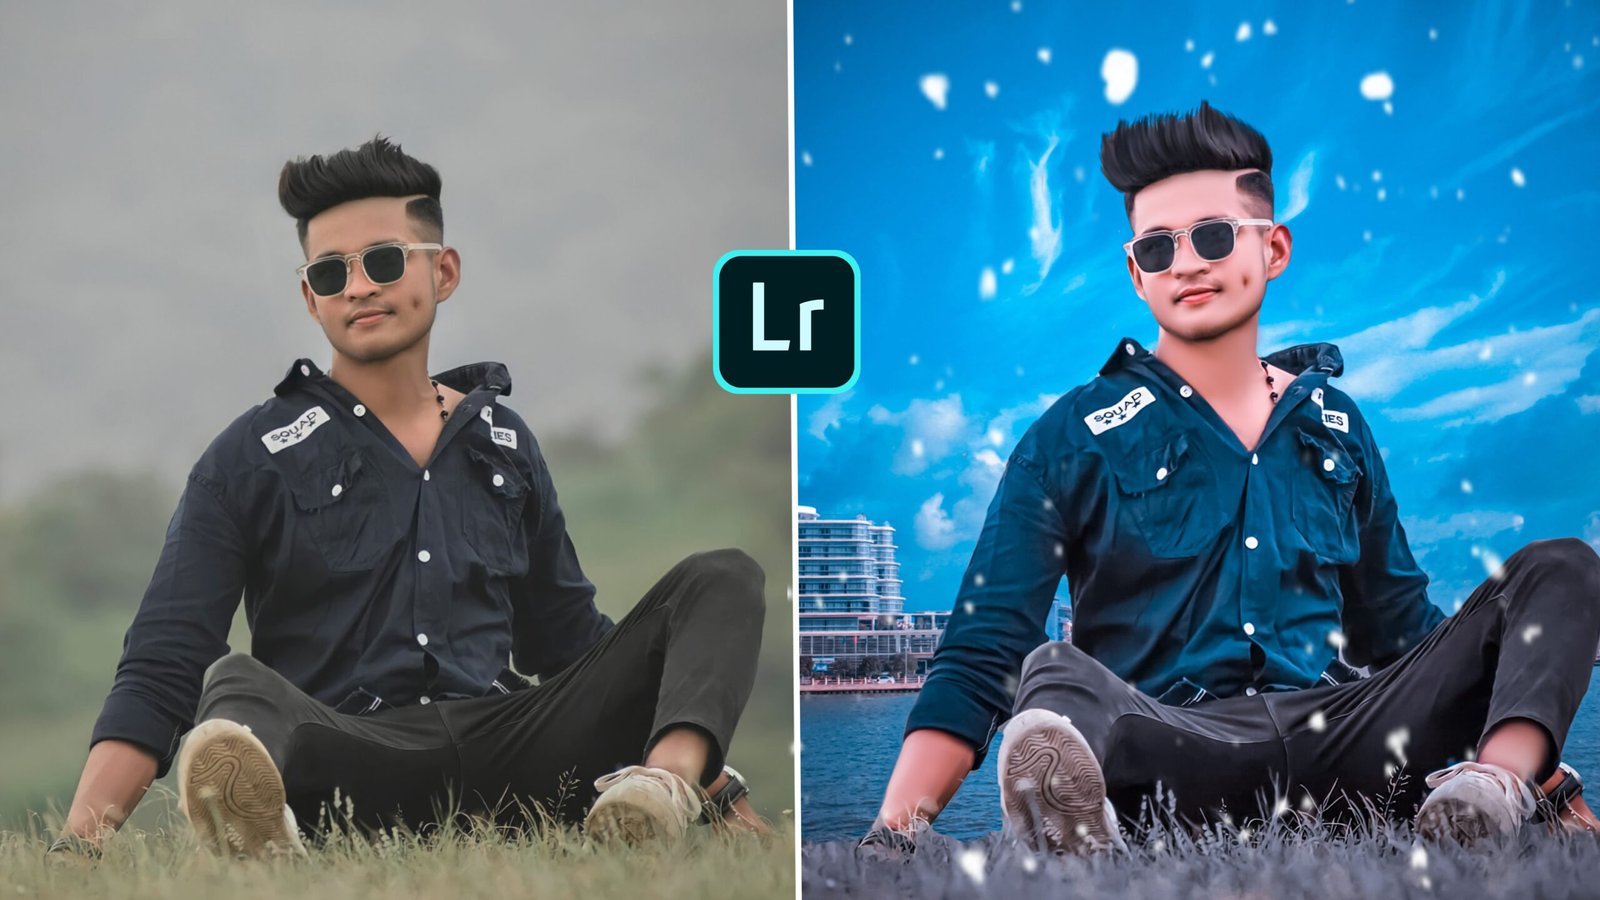
2 How to add sky background to photo
• To add sky background, you have to click on the first number tool of Toolwiz application, then click on the tool with blending mixture, then the gallery will open, select the sky background, now you have given the sky background below. Download the sky background by clicking on that download button, add this background, after that you can do it right, in this way you can add sky backgrounds to the photo very easily.
3 how to change sky background color
• For this, you have to click on the tour with toning and click on the option with HLR, then after clicking in that option, you will see the option of setting, by clicking on this setting you will see 8 colors, then you will have to select the blue color. After selecting it has to be done, it has to be reduced, you can change the color of the sky background with its helper.
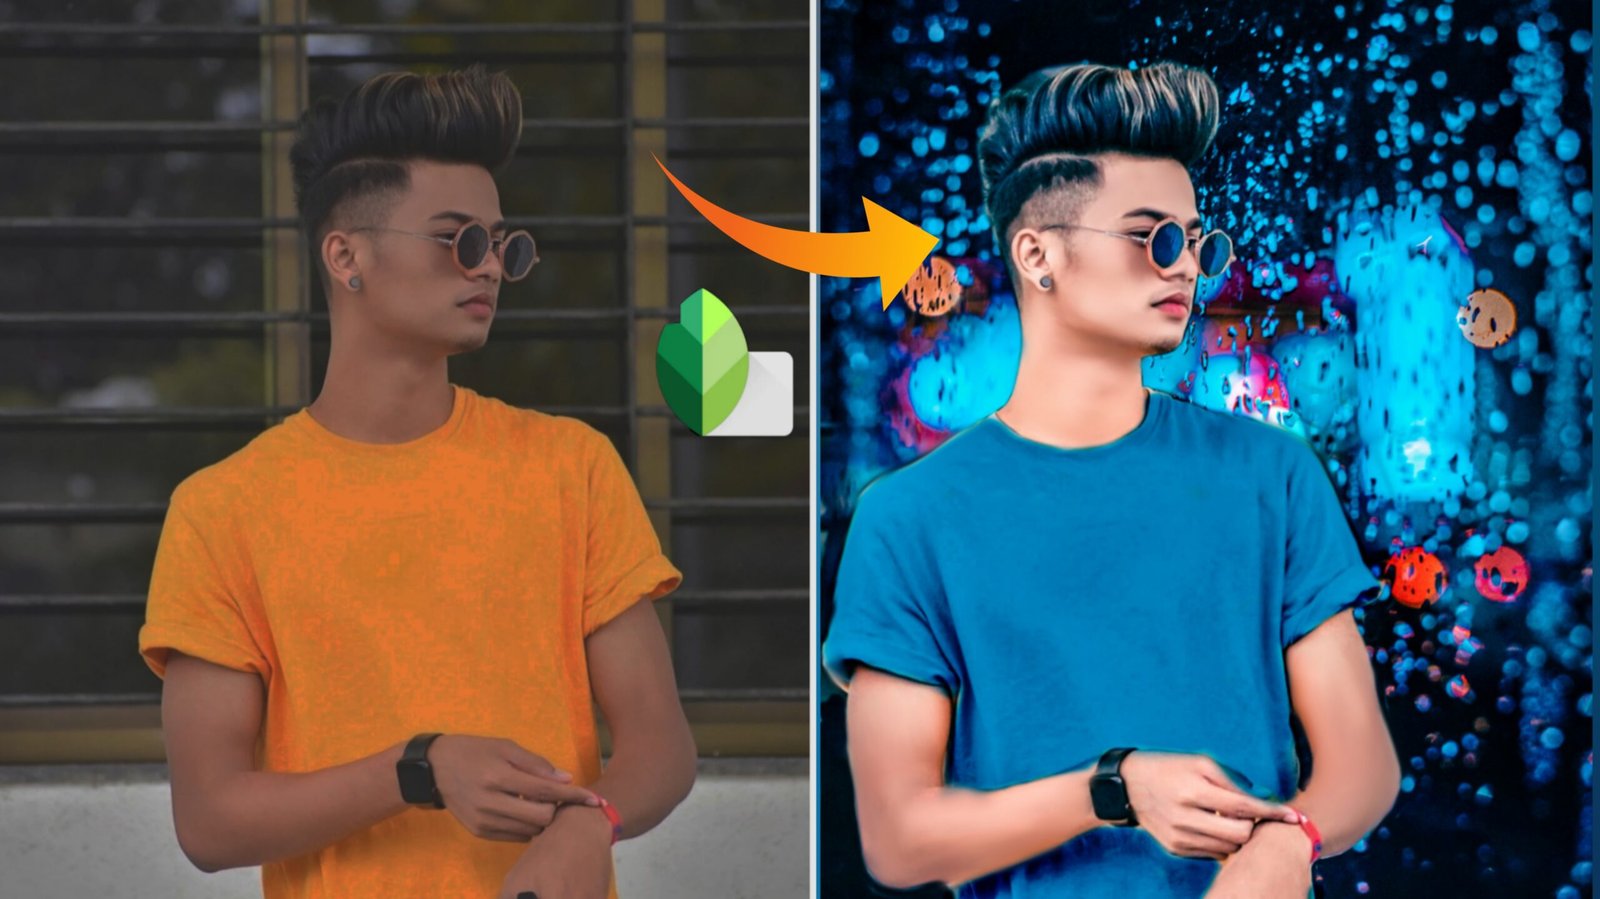
4 How to properly capture color in dark effect photo editing
• For this, you have to click on the tool of toning again, if you also want that the color of the photo is properly adjusted and the photo gives a better look, then you have to click on the option with curve, after clicking in this option, you will get five If the color is visible, then you have to select the blue color, after selecting the learning has to be pulled upwards a bit, after dragging the color of the photo will be automatically earned, after the color is earned, you have to right then your dark effect photo. Editing and sky change photo editing will be completely ready


You can watch this dark effect tutorial on our youtube channel

• You can watch this video completely in our channel because this tutorial is absolutely free i put you the video link you can watch that video if you like it make a like and subscribe
Dark effect tutorial video
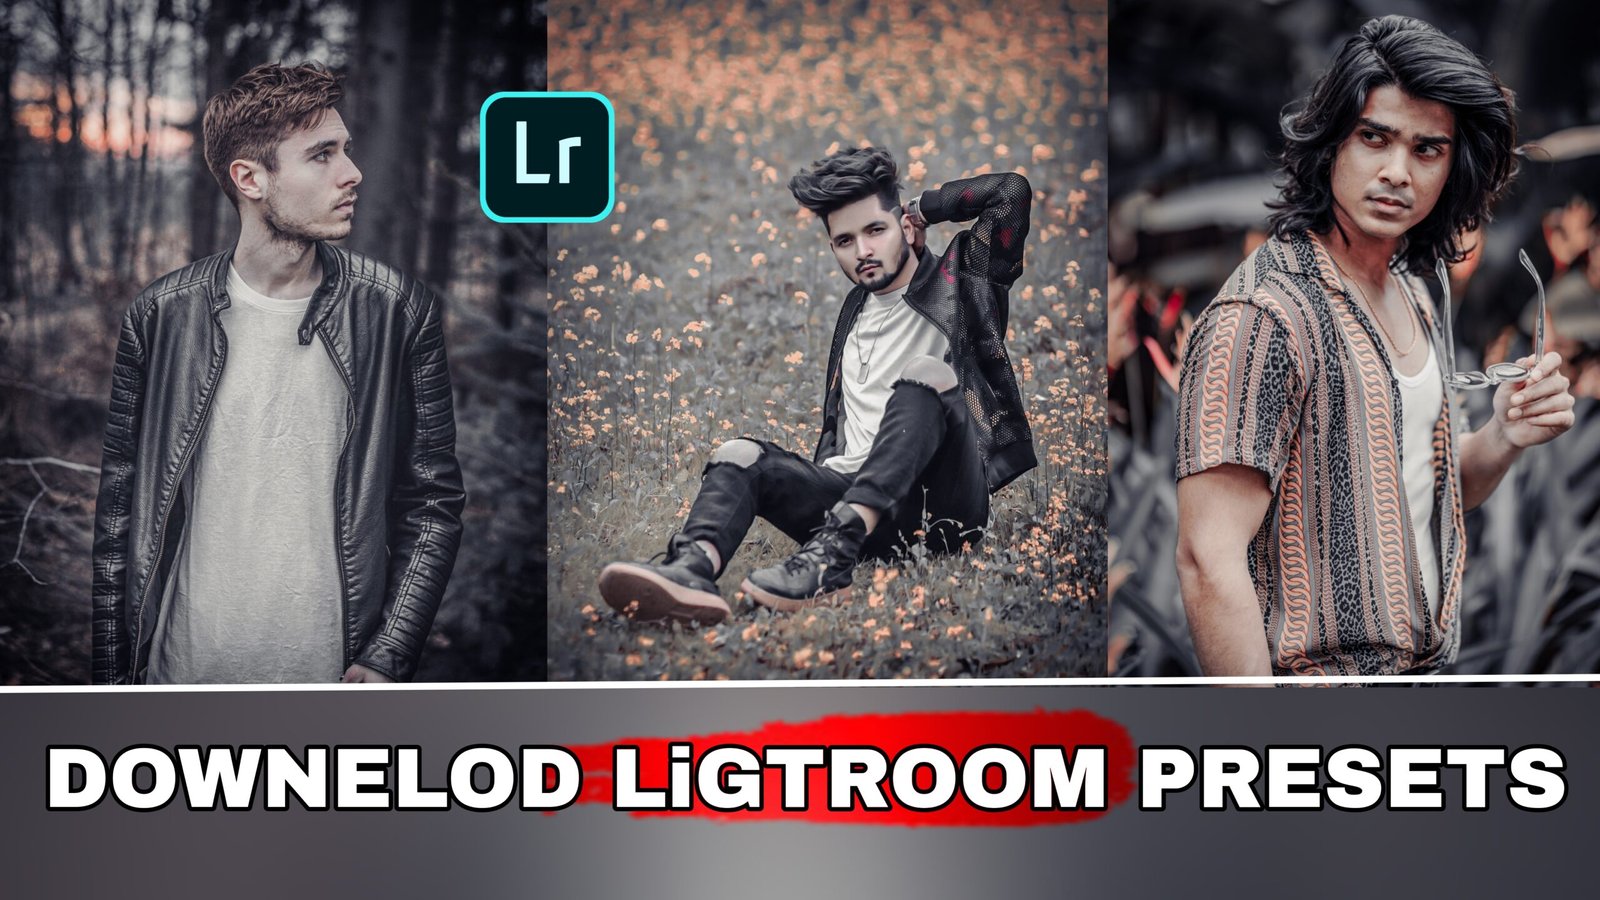
Download top backgrounds full hd
If you have got to learn something in this post and like the background together, then definitely comment like if you want more such post then comment me, get bye bye till then in the next post