Cowboy hat drawing is easy to make or teach through post cow boy means cowherd crossing, this animal grazing person is known as cowboy, but if seen, his cap design looks beautiful. For this reason, we are going to teach this drawing in easy words.
hat Drawing Material
- pencil
- rubber & cutter
- color box
- drawing copy
STEP 1- Draw Crown shape
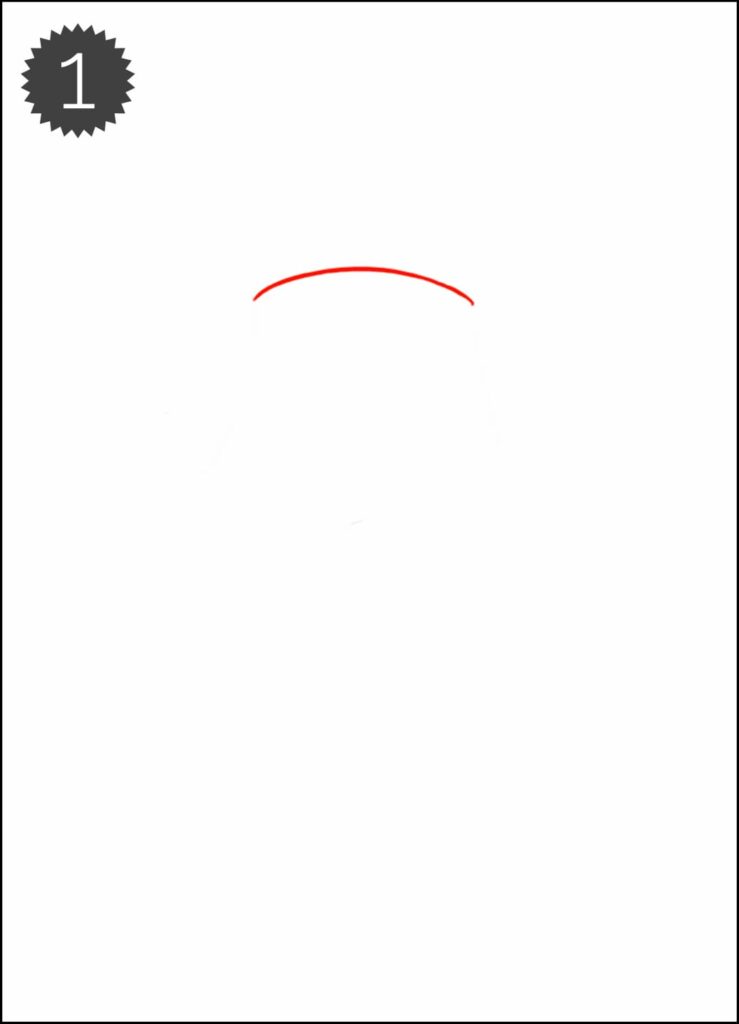
Let’s start the drawing of the cap in this way, draw the crown shape with the help of a pencil.
STEP 2- Add simple outline
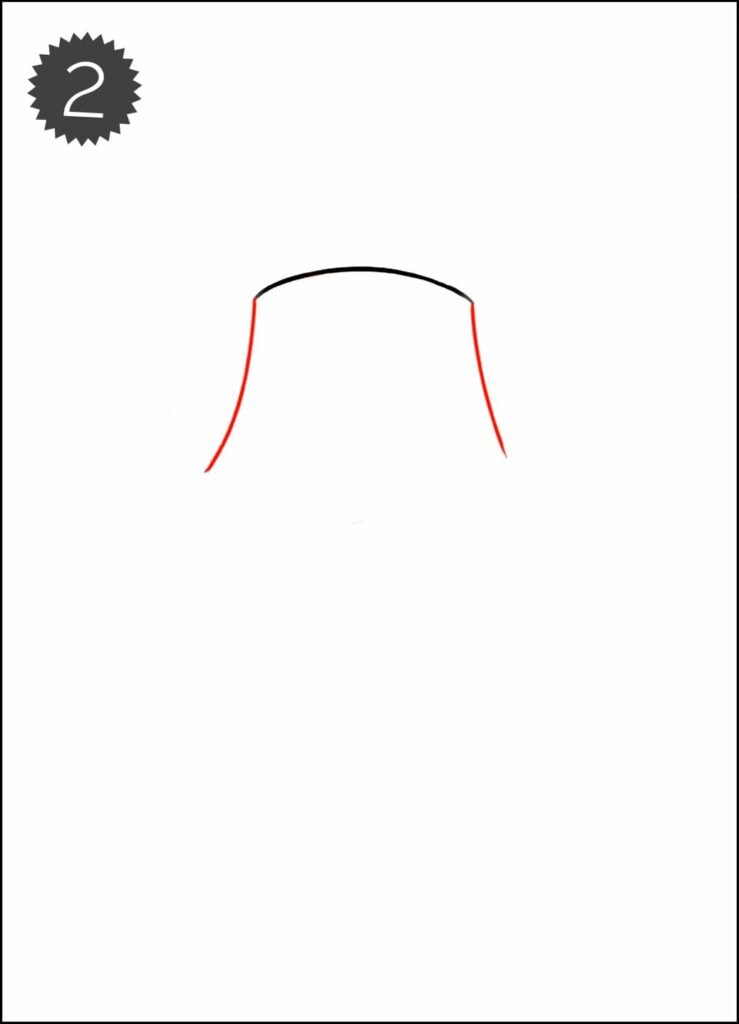
You have to draw the outline on the right and left sides by pulling it down, as shown in the image, you have to draw this type of outline in the copy
STEP 3- Draw Front Dip
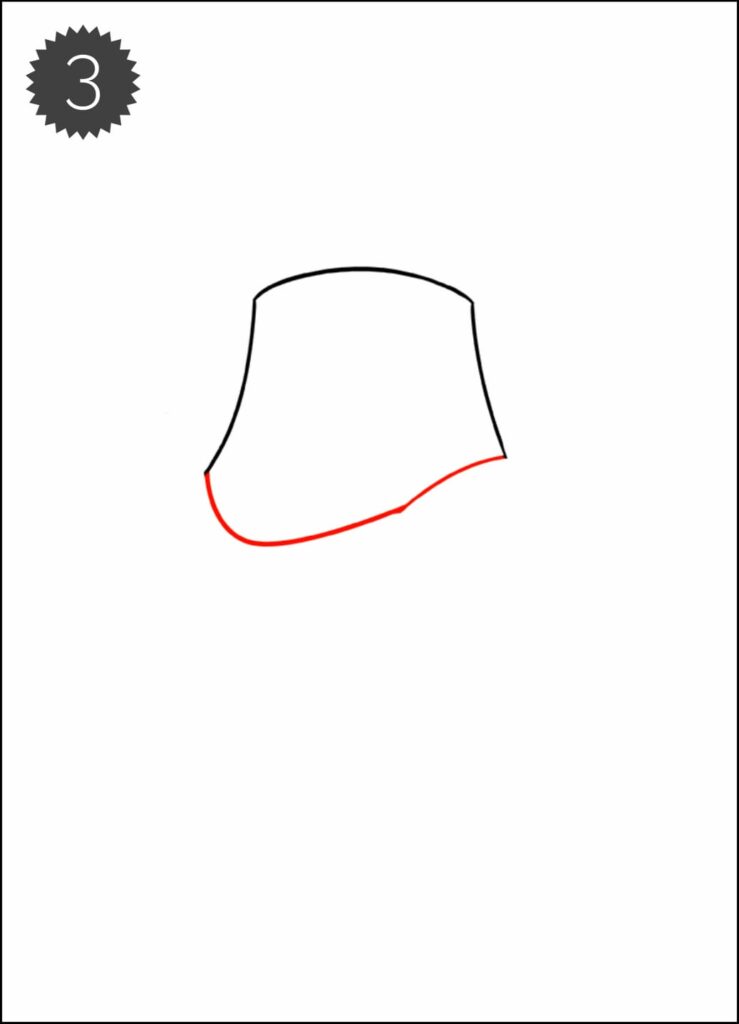
Similarly, the outline of front dip has to be added, to add which you can take the help of the image, how the front dip outline is made.
STEP 4 – Add Roll Draw
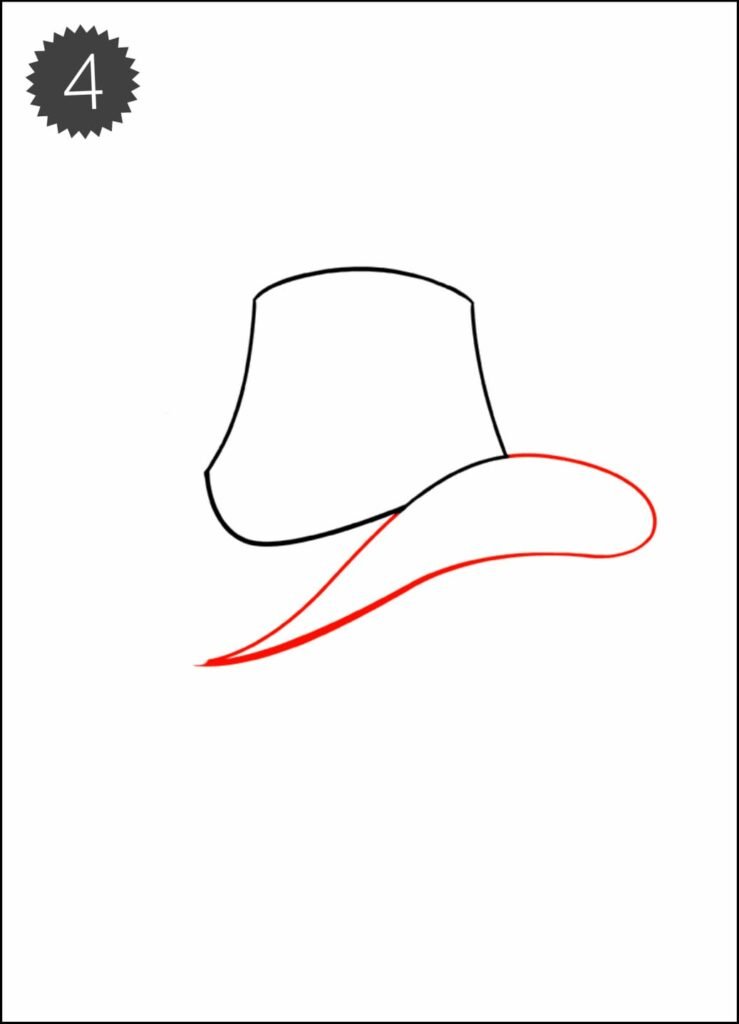
Now roll has to be added to this hat drawing, to draw this, you can create a simple outline by looking at the image and in this way your roll will be drawn.
STEP 5- Draw Bim

This is our last step, inside which we will add the outline of bim, now after this outline is created, the drawing is complete.
cowboy hat drawing tutorial

Through the tutorial, we have explained step by step how to draw but have used dark brown and lite brown to color in it, as well as made a star logo in the middle so that the cap looks better In this way you can easily complete this drawing