We will give you the best tips for palm tree drawing with the help of which you can easily complete this drawing if along with this we will also give you some images of palm tree so that this images app can be used for drawing Please read the post for full details
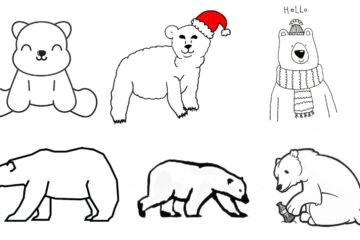
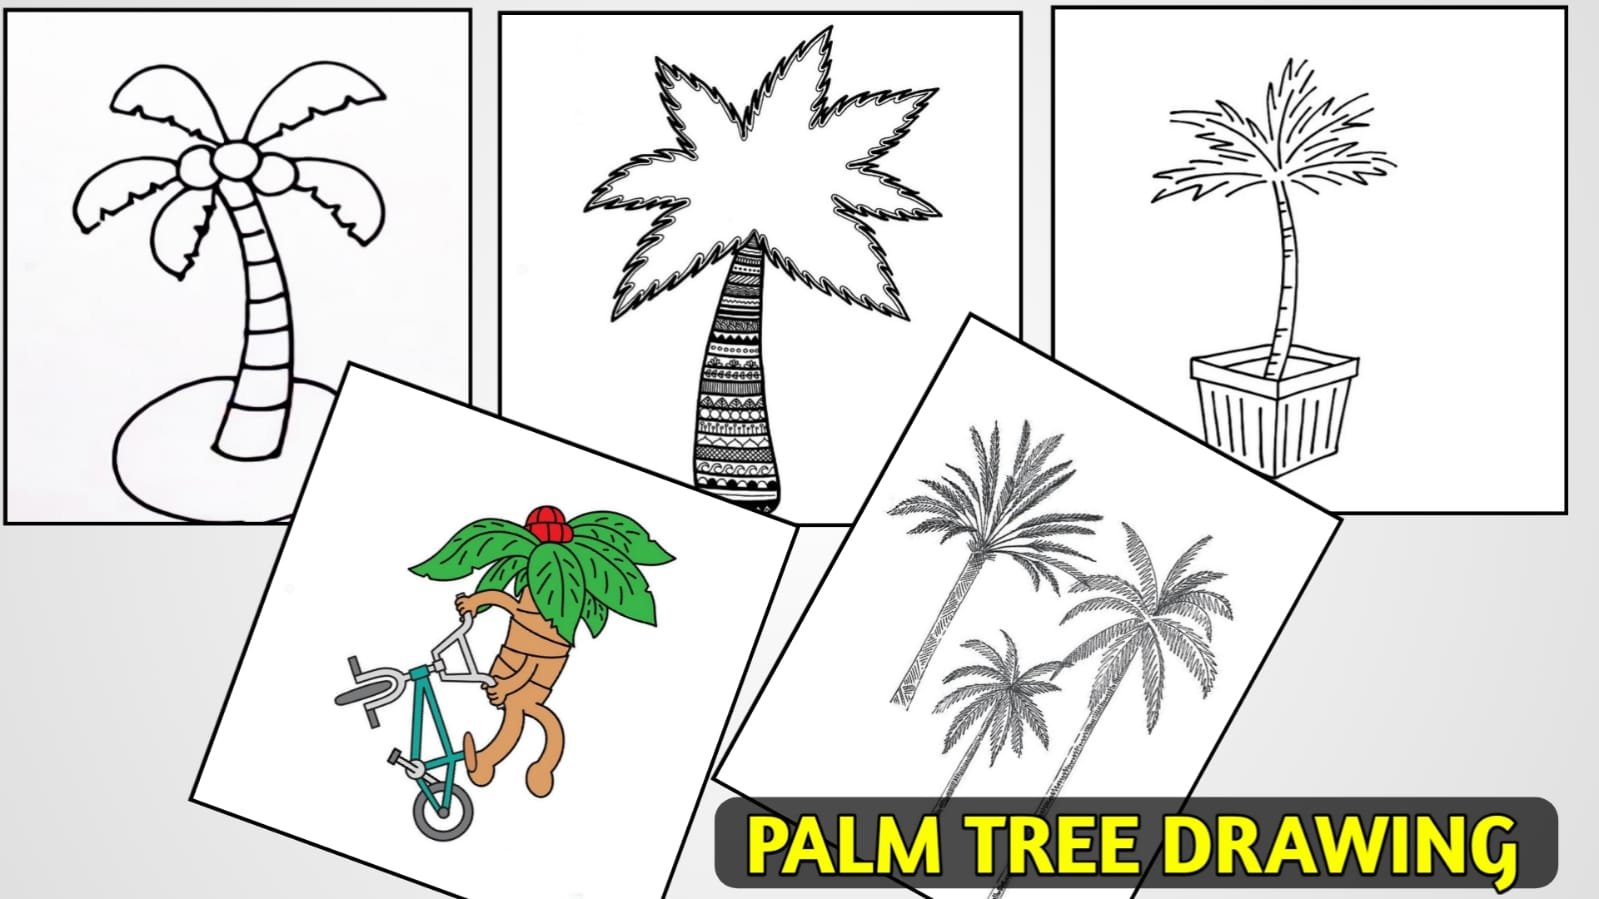
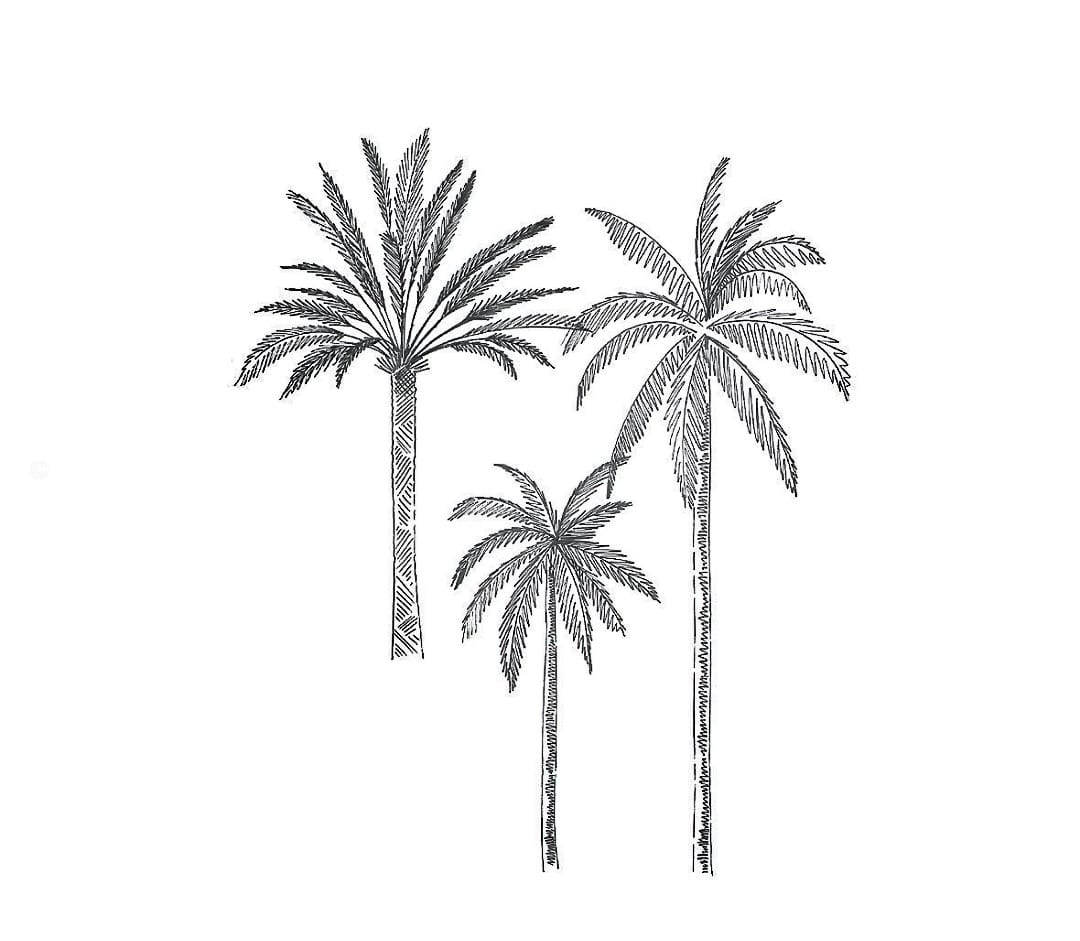
palm tree drawing images
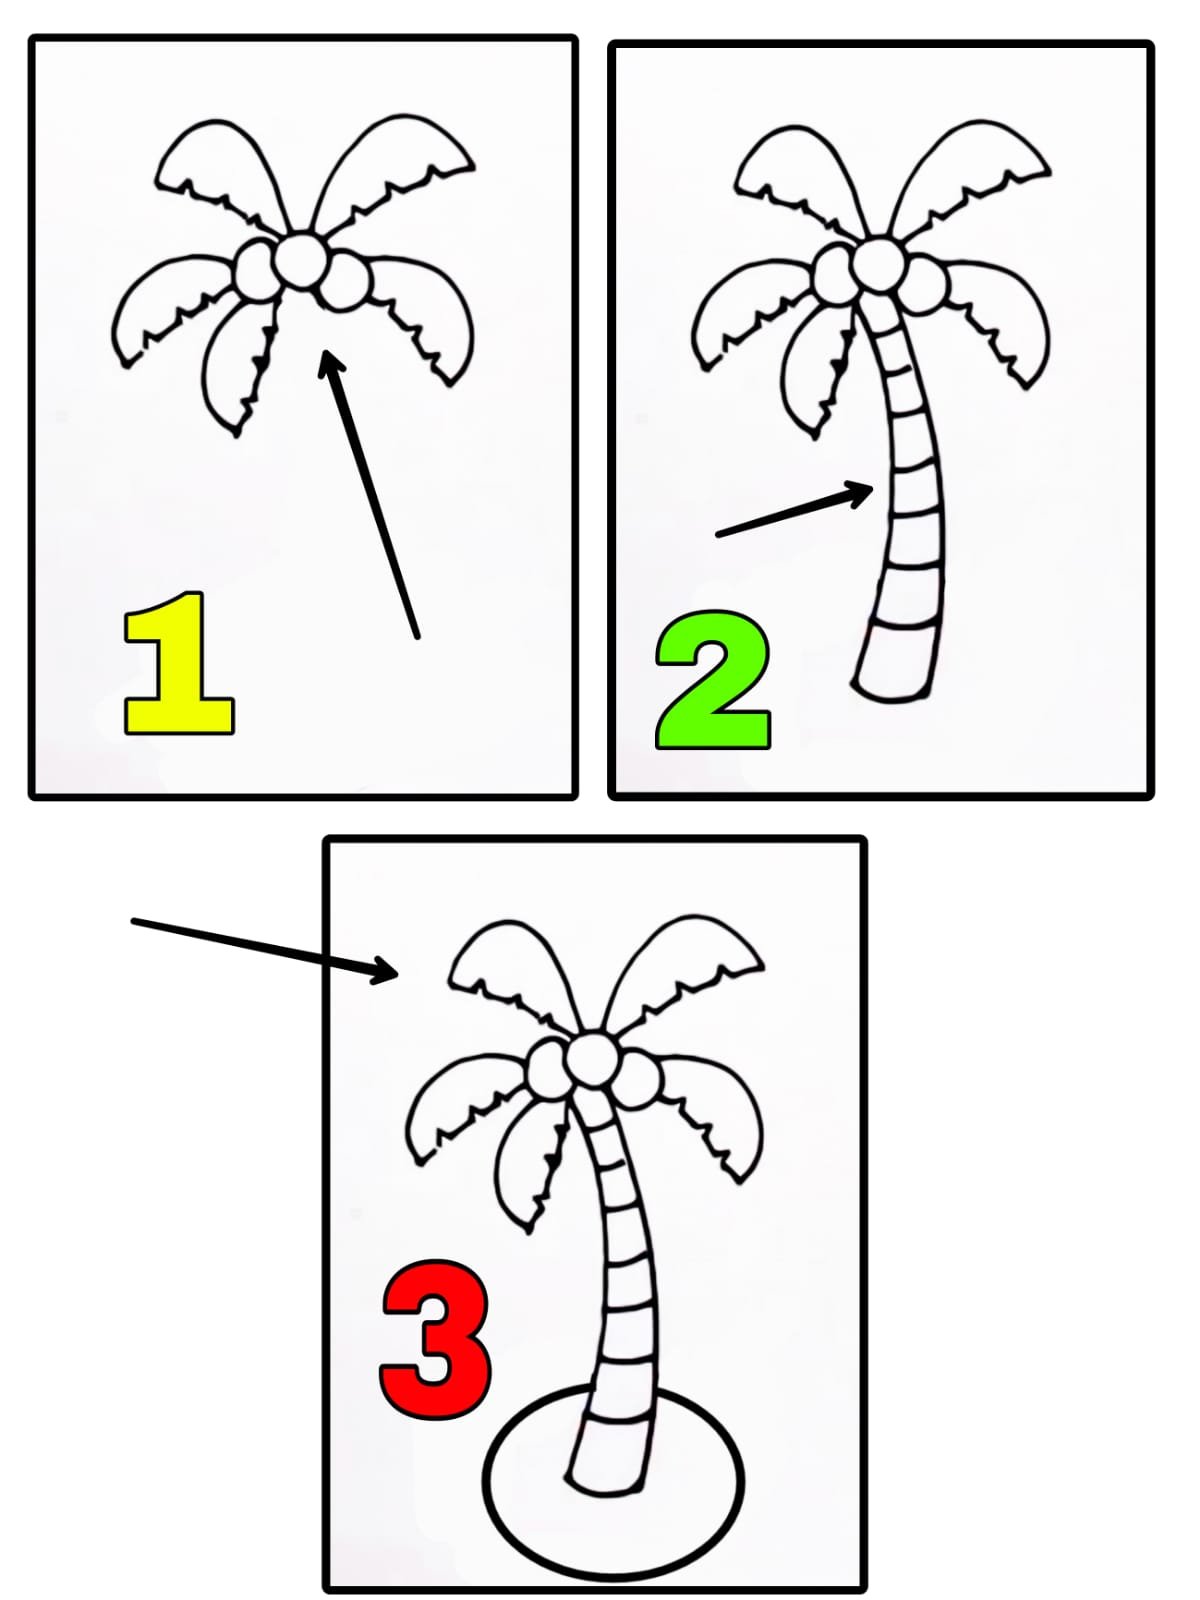
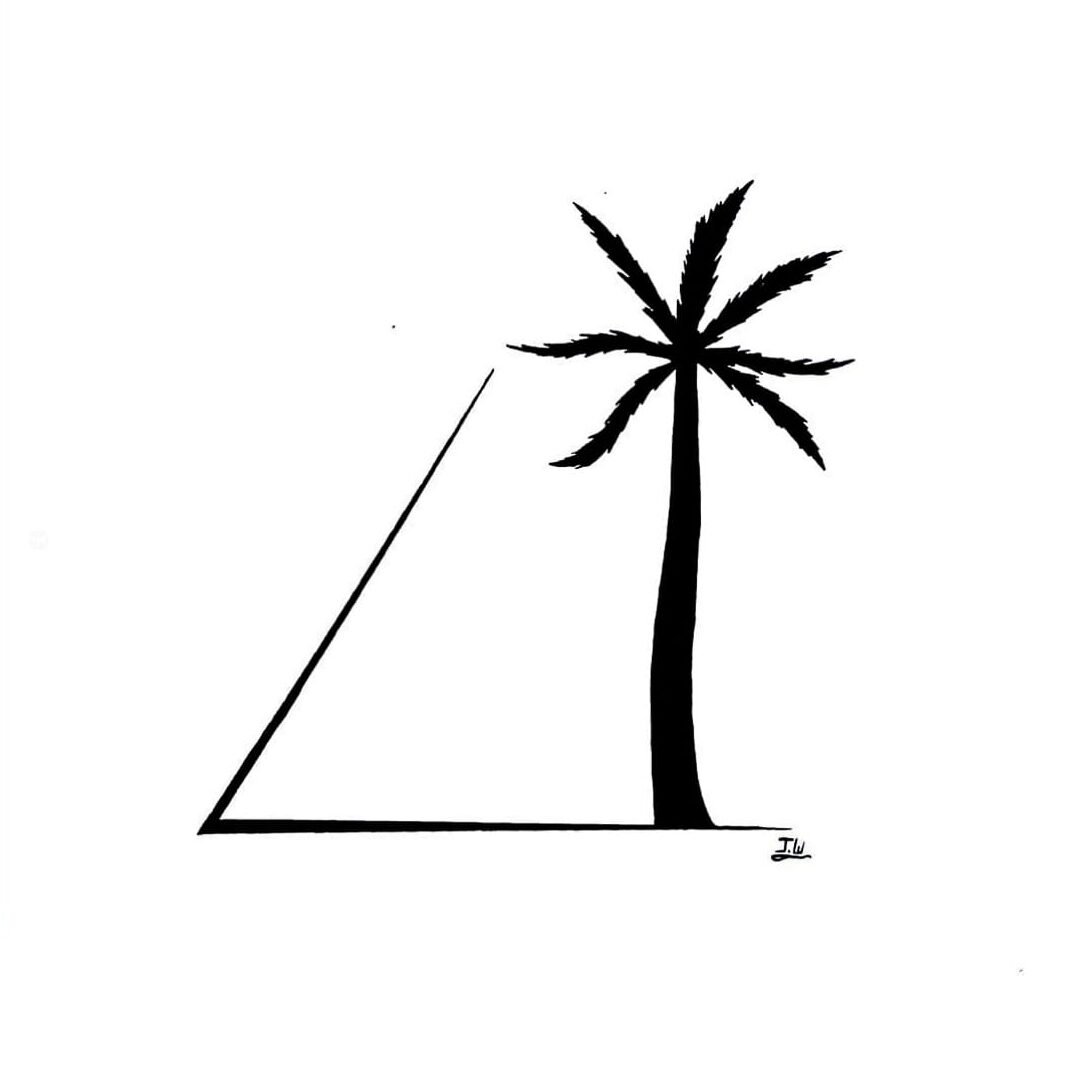
If you do not understand this status for drawing, then I give you an image with the help of which you can easily do what is told in the image that I have to follow the same steps, otherwise you do not have to do anything. In this way also you can easily complete this drawing.


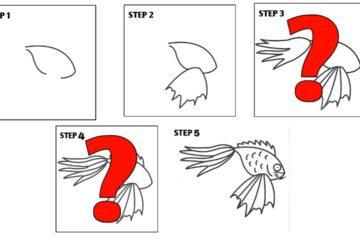
Palm tree drawing step by step
Palm tree drawing Follow these step-by-step instructions to make one
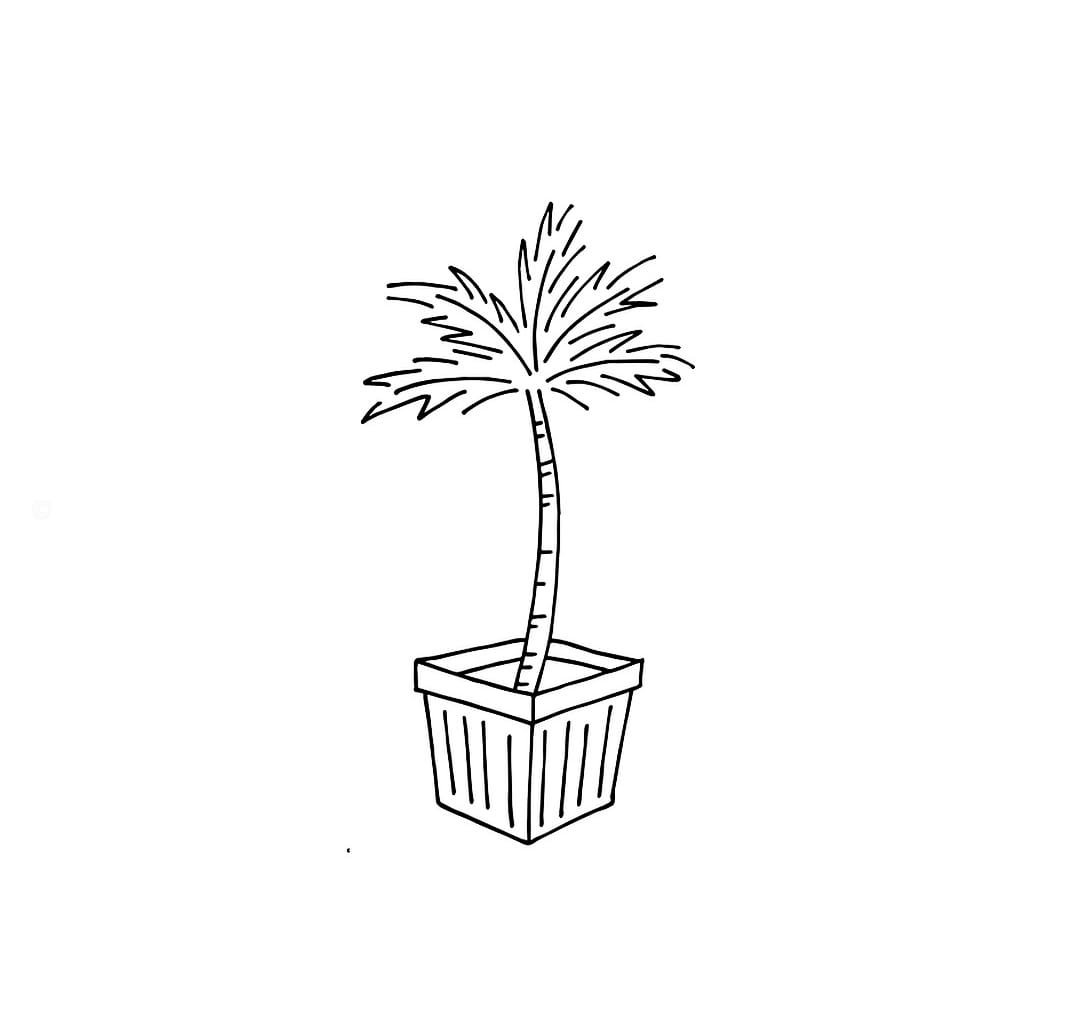
- Step 1: Start by pulling the tronco. Draw two slightly curving starry lines coming together at the top to form the shape of the trunk. The trunk should be broad at the base and gradually tapering towards the top
- Step 2: From the top of the trunk taper outward and upward forming a series of slight spines. These lines serve as instructions for the fronts.
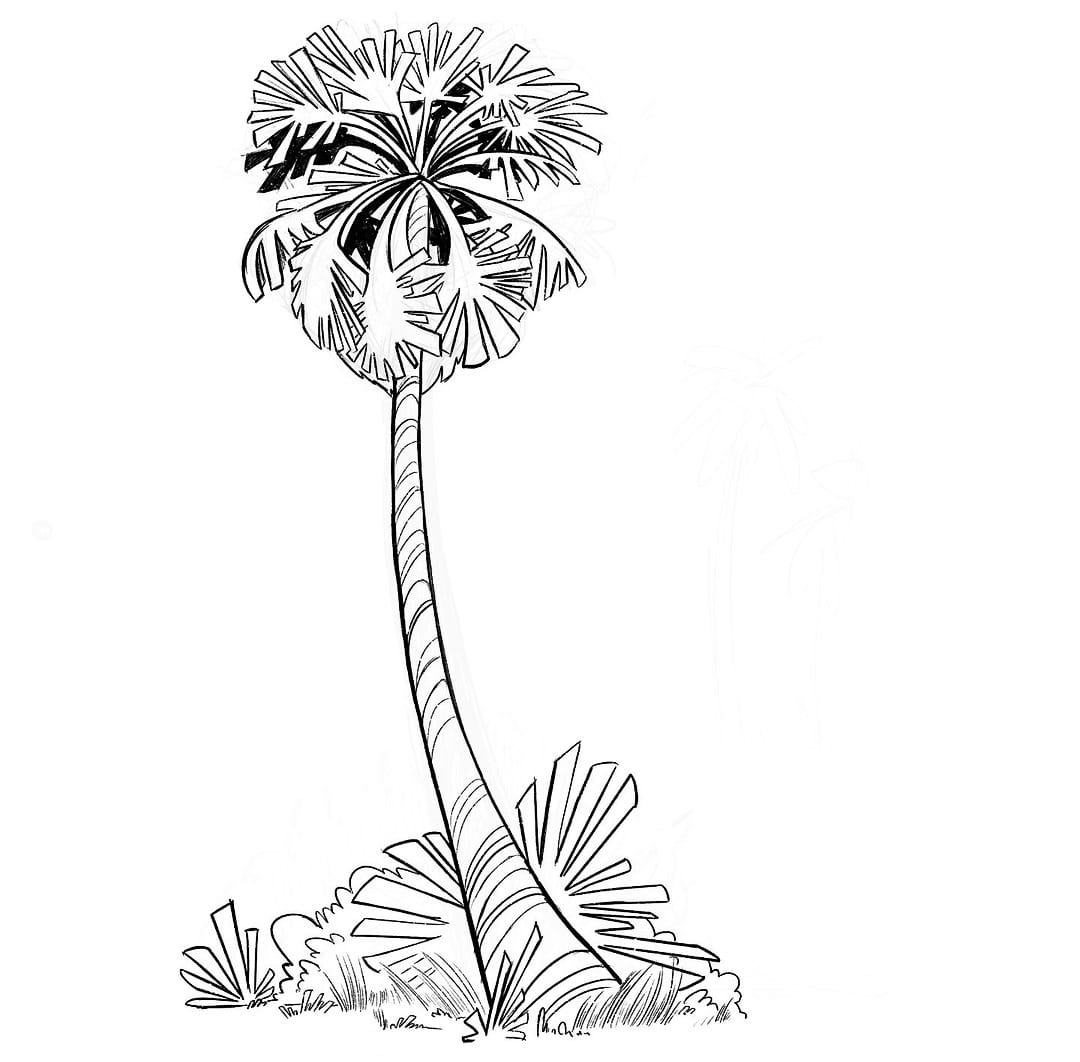
- Step 3: Now, Start Drawing the Fronts. At the end of each chart, draw a long, curved line. Create different rows and sizes of fronts in this process for each sheet. That base should be cast and taper to a point.
- 4: Once you have drawn the fronts, add short lines step by step with the joins to represent the small letters within each leaf. These names should follow the general sentence in front.
- Step 5: Add More Leaves Behind the Leaf You ve Already Drawn. These fronts should give small scores along with the previous ones to create a stable effect.
- Step 6: Water the Reservoirs You Made in Step 2.
- Step 7: Join by drawing specific lines. This will make it more functional.
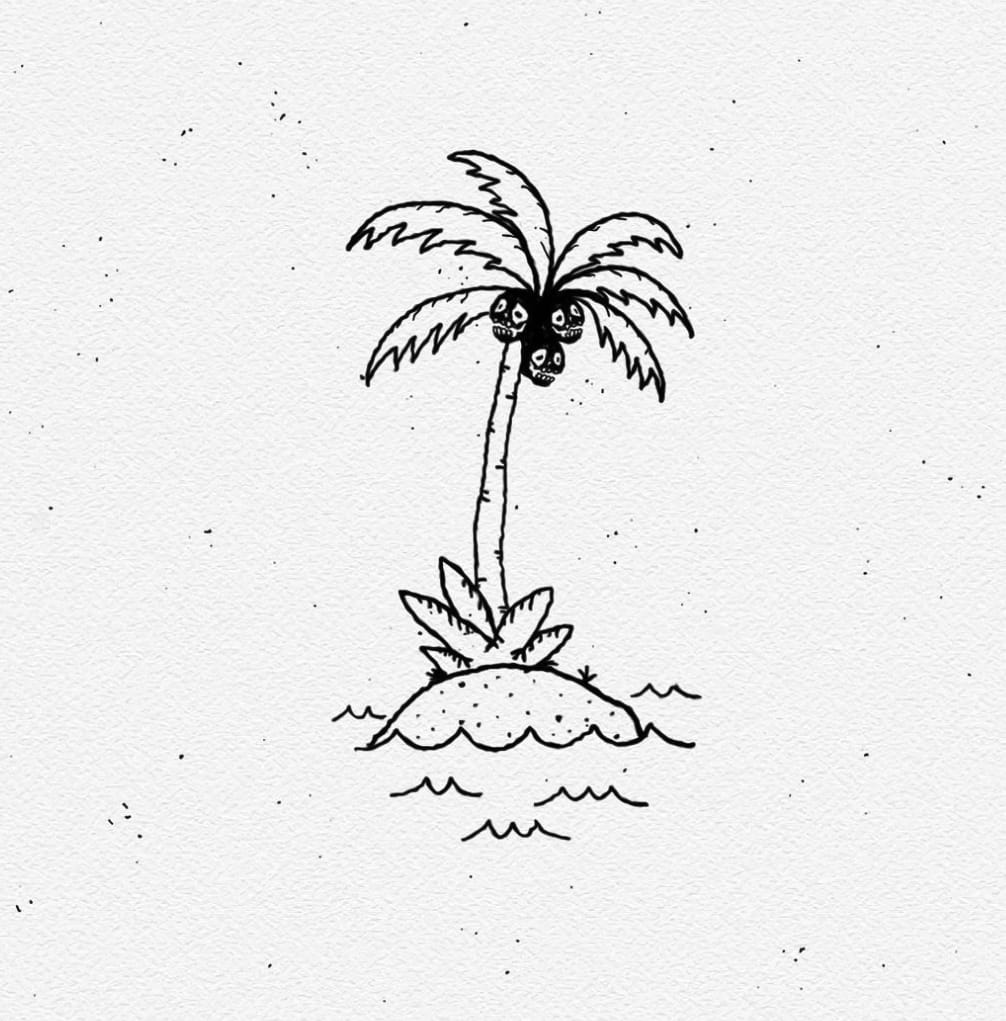
- Step 8: If you want to add coconuts to your tree drawing, make some stake shapes on the top of the trunk, partially facing the back of the fronds.
- Step 9: Lastly, you can add some shadow or shading to give more depth and dimension to your outline. Shade the areas under and around the fronds where possible
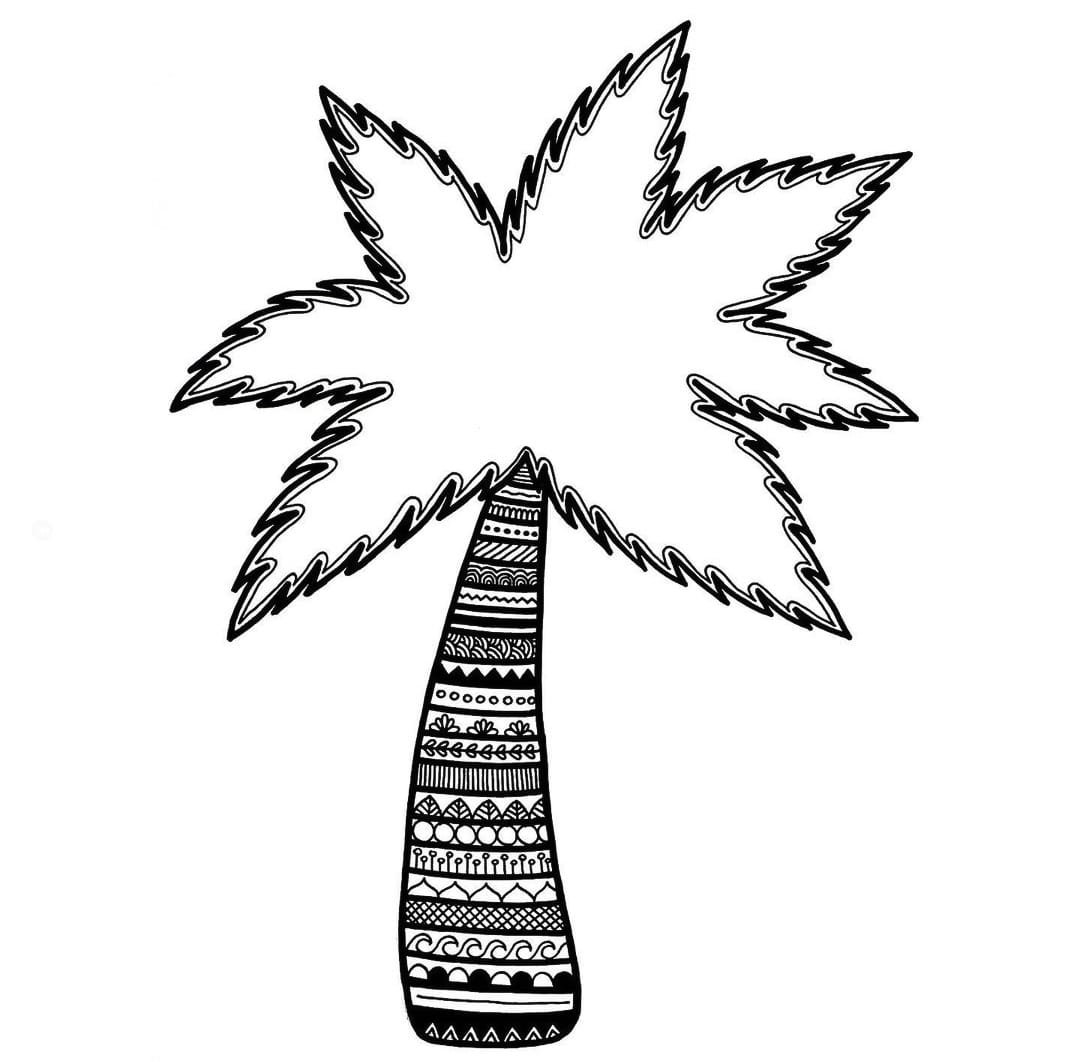
make this palm tree drawing beautifu
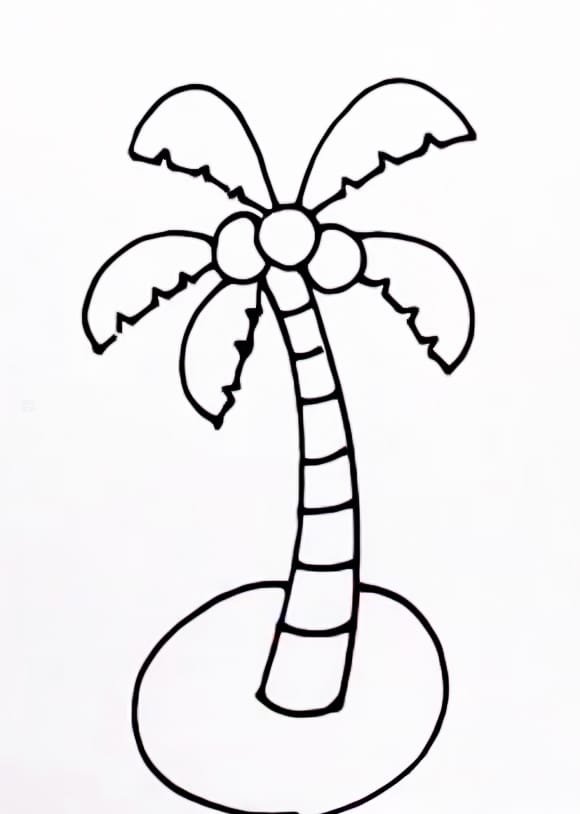
That’s it! You have made a date palm tree. Remember to take your time, and don’t worry if it doesn’t look perfect on the first try. With practice, your tree drawing will improve.
conclusion
If you get to learn something through this post, then definitely tell by commenting, otherwise if you have any problem, you can also comment, today’s post was till this, see you in the next post.